MTB BRAKE MAINTENANCE
Shop the best in MTB Brake Maintenance
We have adapters, levers and brake pads for all of the leading MTB brake systems including Magura, Hope, Shimano, SRAM and TRP.
Want to learn more? Follow the links or scroll down for more info on MTB brake maintenance.
-
Hope E4 Brake Pads
$21.00In stock
Select options -
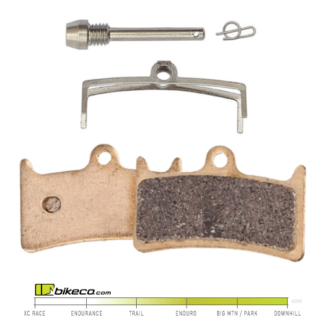
Hope V4 Brake Pads
Currently Out of Stock - Inquire for Details
Select options -

Hope X2 Brake Pads
$21.00 – $23.00In-Stock: updated 04/26/24. Ships same or next business day!
Select options -
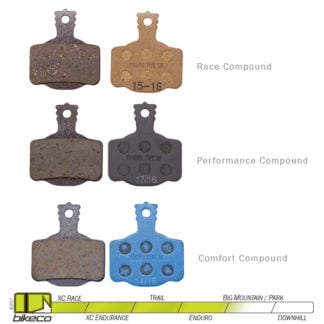
Magura 2 Piston Brake Pads 7.P and 7.R MT2 / MT4 / MT6 / MT8
Sale! Original price was: $50.00.$40.00Current price is: $40.00.In stock
Select options -
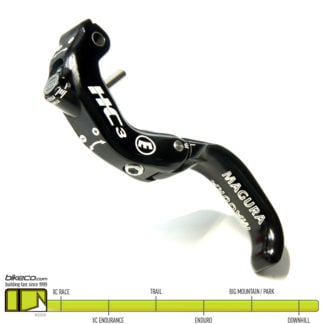
Magura HC3 Lever
$138.00In-Stock: updated 04/26/24. Ships same or next business day!
Add to cart -
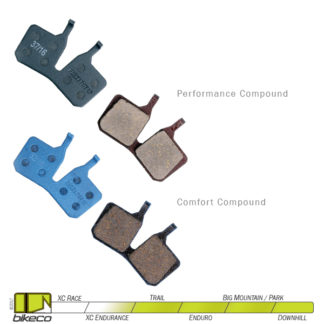
Magura MT5 Brake Pads 9.P
Sale! Original price was: $34.00.$27.20Current price is: $27.20.In-Stock: updated 04/26/24. Ships same or next business day!
Add to cart -
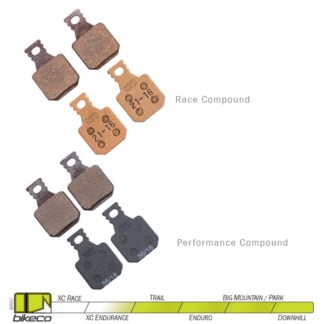
Magura MT7 Brake Pads 8 Series, 4 Piston
Sale! $36.80 – $48.00In-Stock: updated 04/26/24. Ships same or next business day!
Select options -
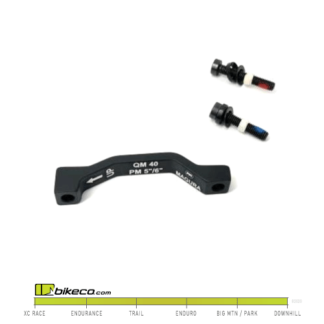
Magura Post Mount Brake Adapters
$15.00In-Stock: updated 04/26/24. Ships same or next business day!
Select options -
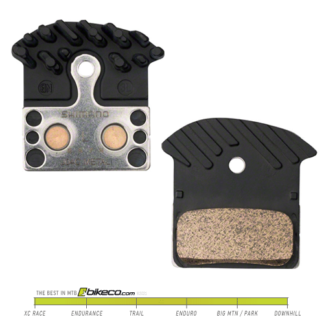
Shimano 2 Piston Finned Pads J04C & J03A
$33.00 – $36.00In stock
Select options -
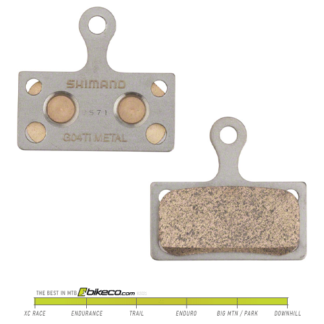
Shimano 2 Piston Pads G04Ti, G04S, G03A & G03S
$16.00 – $29.99
Select options -
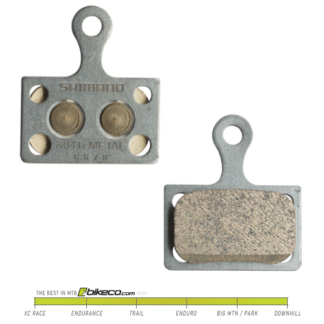
Shimano 2 Piston Pads K04Ti, K04S, & K03S
$12.00 – $34.00In stock
Select options -
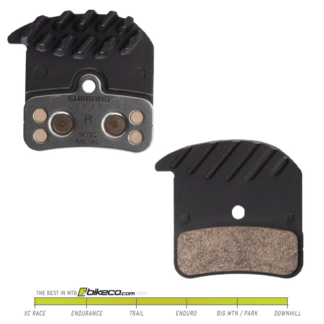
Shimano 4 Piston Finned Pads H03C & H03A
$44.00 – $49.00In-Stock: updated 04/26/24. Ships same or next business day!
Select options -
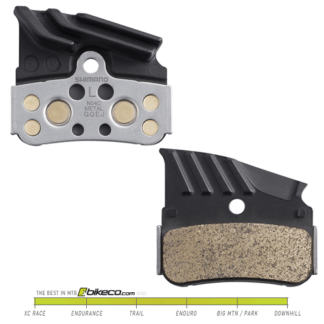
Shimano 4 Piston Finned Pads N04C & N03A
$38.99 – $44.99In-Stock: updated 04/26/24. Ships same or next business day!
Select options -
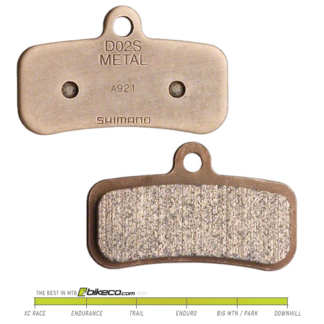
Shimano 4 Piston Pads D02S & D03S
$27.00 – $27.99In-Stock: updated 04/26/24. Ships same or next business day!
Select options -
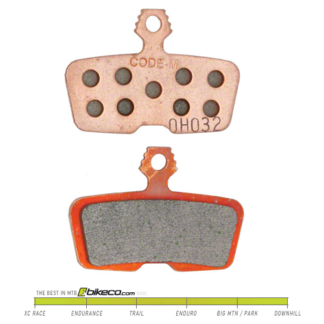
SRAM CODE Brake Pads also fits SRAM Guide RE
$28.00 – $36.00In-Stock: updated 04/26/24. Ships same or next business day!
Select options -
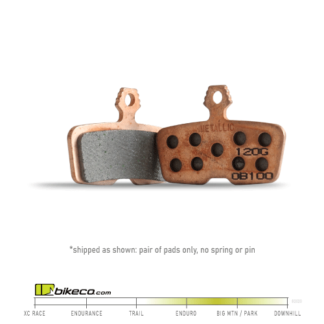
SRAM Code Brake Pads Only
$18.99In-Stock: updated 04/26/24. Ships same or next business day!
Select options -
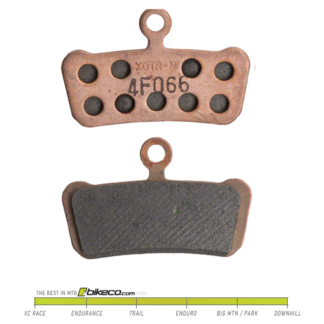
SRAM G2 Brake Pads also fits SRAM Guide
$27.00 – $33.00In-Stock: updated 04/26/24. Ships same or next business day!
Select options -

SRAM Guide Brake Pads Only (Avid Trail)
$16.99Currently Out of Stock - Inquire for Details
Select options -
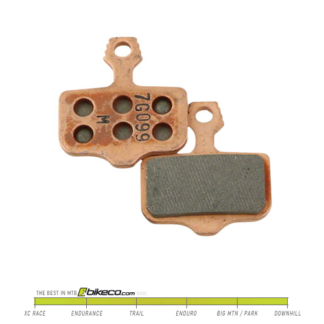
SRAM LEVEL Brake Pads
$25.00 – $31.00In-Stock: updated 04/26/24. Ships same or next business day!
Select options -
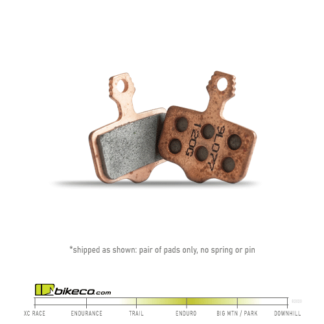
SRAM Level Brake Pads Only
$16.99In-Stock: updated 04/26/24. Ships same or next business day!
Select options -

TRP P-Q12RS 4 Piston Pads Resin
$26.99Use Inquiry form for product ETA!
Read more -
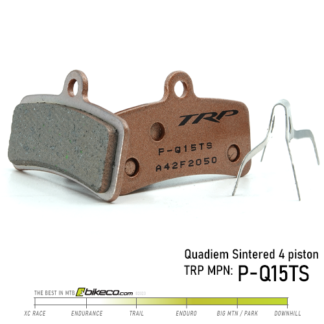
TRP P-Q15TS 4 Piston Pads Sintered
$26.99Use Inquiry form for product ETA!
Read more -
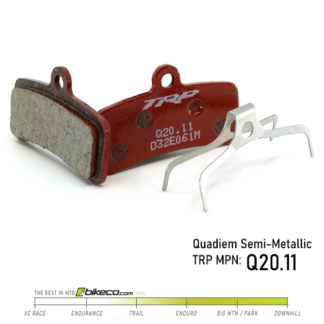
TRP Q20.11 4 Piston Pads Semi-Metallic
$26.99In-Stock: updated 04/26/24. Ships same or next business day!
Add to cart
MTB Brake Pad Replacement
MTB Brake Troubleshooting
Looking to identify potential issues with your MTB brakes? Jump to the Brake Troubleshooting text below.
Wondering if your pads are ready for replacement? Read a blog about MTB Brake Pad Wear Limits.
Ready to replace your pads? Check out the following two videos that explain best practices changing MTB pads!
Best Practices Changing MTB Brake Pads Video
Always remember to open your brake’s bleed port when changing pads or realigning pistons. The video below explains why.
The Magura master cylinder is a good example of how a MTB hydraulic brake functions.

In the above image you see (from left to right) the Master Cylinder, Bladder and Cap from a Magura MT7 brake.
On the master cylinder you see the threaded bleed port which feeds into the top of the reservoir. Since the Magura brakes are “flip-flop” design there is a bleed port and reservoir inlet on both sides.
If you look into the master cylinder’s reservoir body about mid-height you’ll note a series of raised bumps. On either side of the reservoir centered in these raised sections are the ports to feed the master cylinder itself. (more on that below!)
In the center of the image you’ll see the rubber bladder. The bladder allows the reservoir to expand as the brake fluid heats up and expands.
To the far right of the image the bladder cap which clips onto the master cylinder and seals the rubber bladder is shown.
Below we have sectioned the Magura Master Cylinder to better illustrate it’s design and function.

Above the Magura MT7 Master Cylinder has been sectioned and reassembled to help illustrate it’s function.
Slicing the Master Cylinder we have “halved” the reservoir so only one bleed port fill and one master cylinder fill hole will be visible. The bleed port is hard to see in the upper corner, while the master cylinder fill is located in the middle of the raised sections about midway through the reservoir.
One of the critical aspects to a functioning hydraulic brake is the ability for the reservoir size to increase with heat expansion in the fluid as well as refill the master cylinder as fluid is displaced lower in the brake caliper to accommodate brake pad wear.
The image below highlights the reservoir to master cylinder port and seal interface.

The port above allows the brake’s master cylinder reservoir to equalize with the rest of the hydraulic fluid in the brake system when the lever is disengaged (open).
Fluid flow is regulated with the seal design. As the fluid expands with heat it will move from the master cylinder / line / caliper side into the reservoir.
Conversely as the master cylinder need it will draw from the reservoir to replenish fluid from the lever that has moved deeper in the system as the caliper pistons extend to compensate for brake pad wear.

As the piston drives past the reservoir port it widens to separate the master cylinder / line / caliper from the reservoir.
Troubleshooting Common MTB Brake Issues
Again, we reiterate, if you have ANY doubts on your mechanical diagnosis or corrective ability find a competent professional resource. Brakes are critical to your bike’s performance and your safety…
Troubleshooting MTB Brakes can feel like a bit of choose your own adventure – but with some basic understanding the home mechanic should be able to define and correct a variety of issues.
Here are some of the most common issues – then you can find a lot of DIY fixes on BikeCo.com here under the Home Mechanic Tips & Tricks Content.
Low Power, “Honking like a Goose” Noise in All Conditions
Most likely pad / rotor contamination. Your rotors can often be saved with a resurfacing but in all likelihood your brake pads will need to be replaced.
MTB brake pads will absorb anything that gets near them. If that’s any sort of oil or oil mist it can contaminate them.
Some ways to contaminate pads that I have seen, or been guilty of, or thought were funny:
Spray chain lube overspray. Or overspray of any number of things onto the rotor which then contaminates the pads.
Handling brake pads or rotors with greasy hands.
Leaning a bike into vegetation (guilty more than once). Plants often have oils on the leaves that transfer to your bike.
Excessive exhaust while using hitch mounted rack (only have seen this a couple times)
Teenage son spraying armor-all on his car tires near your bike (this one was a client who couldn’t figure it out for months and had to replace brake pads several times)
Keep your bike’s brakes clean and dry. If you wash your bike make sure you use bike wash suitable for brakes!
Brake Noise on Initial Application, Typically Cold / Coastal Conditions
If you’re riding in wet or misty conditions your brakes are likely to make noise as you burn off the water buildup and bring the rotors up to operating temperature.
Sintered brake pads exacerbate this so you could go to Organic options. However, Sintered pads tend to have more total power so many riders aren’t comfortable with this sacrifice.
Personally I would kind of “half pull” the brakes in the first few corners to try to slowly bring them up to temperature with the least amount of squeaking or howling.
Low Power, Squealing Noise in All Conditions
Likely the result of heat saturation. Could be from overheating the rotor or a sign that the brake pads / rotor are worn.
Overheated rotors tend to be dark on the contact point. Resurfacing the rotors will help remove the fused brake pad material improving the available friction coefficient (read better bite and more power). In our Tips & Tricks we have resurfacing procedures for both the work stand as well as on-trail.
Other things to look for include brake pad and rotor wear. As the pads and rotors wear they are less able to absorb and dissipate heat leading to lower overheating temperatures, typically announced by brake howl… Personally I tend to replace my brake pads before they hit the wear limit due to the performance drop on power / heat capacity.
Inconsistent Lever Feel or Power, Mid to Full Squeeze on Lever
Inconsistent MTB Brake Lever Feel can be from a variety of issues. Check to ensure brake pads and rotors are within operating minimums. Ensure pistons are moving equally. If these are fine you should check the integrity of the bleed.
When a brake lever loses power, needs to be pumped up, etc it means you’re losing power and confidence in your ability to stop. Not fun.
Typically this inconsistency in the mid or full squeeze condition illustrates a bubble in the master cylinder, line or caliper. Air is compressible, unlike hydraulic fluid, and any bubble will need to be compressed to a state which then allows it to push on the fluid trapped behind it.
Check fittings for signs of leaks. If there isn’t an obvious leak, which would mean it’s pulling air in at that point, you might have a bubble that has developed. Slowly bleed the brakes depending on the manufacturers requirements. The key is to move the fluid slowly to minimize any additional off-gassing, air ingress, etc. Sometimes small bubbles will get “stuck” in the caliper. Unmount the brake caliper and slowly rotate it as you bleed fluid with the goal of working any bubbles out of the bleed port.
Inconsistent Initial Lever Feel
This is very common and can come from a handful of scenarios.
One is a poor initial bleed that has left air in the reservoir. This air creates issues with the fluid regulating between the reservoir and remainder of the brake system and needs to be removed by a lever or bubble bleed.
More commonly riders notice inconsistent initial lever feel as the brake pads wear during their service life.
As we mentioned in the Remove the Bleed Port video there are a couple thoughts on why this happens. Most likely it’s some combination of the two…
Does the fluid off-gas enough during heat that it creates bubbles that need to be drawn out of the reservoir? Maybe. It could make some I would imagine even if the fluid engineers insist on it’s impossibility.
Another thought is that as the fluid is driven deeper into the caliper the vacuum created by the rubber bladder “pulls” back and creates the inconsistent lever feel. (in this case when you open the bleed port air is sucked in by this vacuum and isn’t from off-gassing).
Either way when you open the bleed port you’re going to have air in the reservoir and a lever bleed will restore the brake’s feel. Whether the feel returns from removing the off-gas or by “resetting” the bladder to a more neutral state is a question that I won’t answer unless there’s a grant and an honorary degree somewhere with my name on it…
We have a handful of videos available to help you quickly lever bleed your brakes for a consistent feel.
Hopefully these MTB brake troubleshooting tips have helped you better understand your brake performance!
Want to learn more about changing pads? Check out another video here View Changing MTB Brake Pads Tips & Tricks
More Brake related Tips & Tricks Here.
Find the best from Magura, Hope, SRAM & Shimano to maintain your brakes.
Whether you’re looking for brake pads, brake parts, brake bleed kits or brake adapters BIkeCo has you covered.
Remember: if you’re purchasing pads it’s a good time to check your rotors as well. Rotors are a wear item and will need to be replaced from time to time. Check the minimum manufacturer thickness as well as look for uneven shape to the contact area of the rotor.
If your rotor is concave, convex, or “knifed” instead of parallel and true the contact point of new pads will be compromised. This can create tremendous performance issues – lack of power, lack of heat capacity, noise, etc. Worst case scenario the new pads may take such a heat soak that they are unrecoverable… None of this is to scare you from maintenance – just a reminder its’ worth a look at your rotors too!
Another important reminder: bed in your new brake pads. You will not have full power until the brakes have been burned through several stops. It’s best to do these in a safe controlled environment, not down the steepest trail you can find.
