
BikeCo Tips & Tricks: Understanding Rear Shock Negative Air Chamber
A fairly common question is “why does my rear shock lose air when I check it?” While there are mechanical issues that may cause air loss not pre-charging a pump or understanding how the negative air chamber works are more often the culprit.
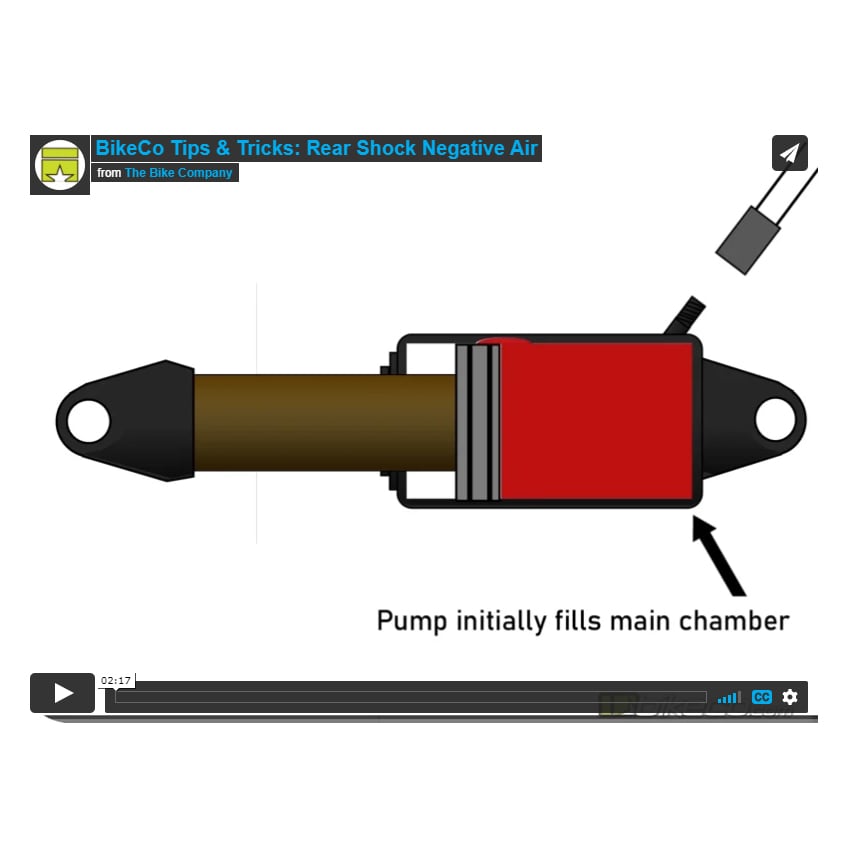
In this video and blog we’ll look at how a typical rear shock charges the negative air chamber and how a functioning shock will “lose” air PSI based on the increased volume.
MTB Rear Shock Setup
As the video shows your rear shock needs you to cycle it, to charge the negative chamber, for an accurate PSI reading of your main chamber.
Without this, and understanding how to pre-charge or equalize the pump’s line pressure, you’re going to get different readings.
Without cycling the suspension and charging the negative air chamber the PSI loss will affect sag percentage and ride characteristics.
Negative Air Pressure
Negative air pressure is essentially a counter pressure on your air spring. This negative air pressure helps eliminate hard top out. It also provides a bit of load against the piston to help small bump compliance.
Negative air chambers have increased in size over the past few seasons. That means cycling your suspension while inflating the shock is more important than ever.
Charge Port Location
Unlike your fork (which typically charge the negative air spring at full extension) the rear shock’s charge port is usually located around 25% of the shock stroke. If you feel carefully as you compress your shock you can often feel it.
If you’re taking a shock to riding PSI from empty it’s a good practice to cycle the shock a few times along the way.
Since the chare port is further in the stroke it won’t charge until the shock is cycled. It will take a few cycles to equalize the chambers. A few slow compressions will do.
If you setup your shock and test the sag, without these compressions, you can pass the port quickly enough that the bike may read the correct sag, until you try to ride it!
My personal bike will go from 30% sag to about 50% sag if I don’t charge the negative chamber. (it’s happened once when I was in a hurry with a demo bike – beyond frustrating to get on trail before you realize there’s an issue!)
MTB Rear Shock Setup
These steps will help improve your setup and minimize frustration from perceived issues such as rear shocks losing air.
Pressurize the shock.
Some manufacturers have good starting points for this – remember that extreme heat and moderate altitude can effect this.
Cycle the shock slowly 8-10 times.
This charges the negative air chamber.
Mount the bike and check sag.
Use a wall to lean on or a friend to hold the bike.
Adjust the PSI up or down depending on sag settings and cycle the shock again.
It’s a less common complaint, but, just like the PSI can drop with the negative air chamber filling you can get a main chamber PSI increase if you lower the main and the negative has a notably higher charge.
If you’re working with different pumps don’t get “married” to the PSI – work with sag percentage!
We go over more basics to MTB suspension setup here.
More To See & Read
Not familar with pre-charging a shock pump? Learn more with BikeCo Tips and Tricks here.