PreCharging a Suspension Pump – BikeCo Tips & Tricks
Let us show you how to precharge a suspension pump for the most accurate air suspension setup.
Many of our clients, and all of our racers, are looking to really dial in suspension. In order to accomplish this it is important to make minute adjustments to air pressure. This blog and video illustrate what’s happening in your air spring and why precharging a suspension pump is so important.
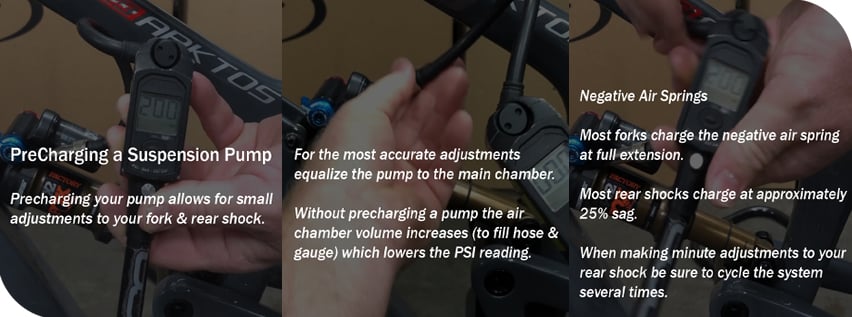
PSI & Volume
The reason you want to have a base number to start with and precharge a pump is simple. If you simply attach the pump you’re not getting an accurate read on the suspension’s PSI.
When you attach the pump the length of hose and gauge increase the shock, or fork’s, air spring chamber volume.

In the past some suspension manufacturers have suggested a standard number of additional pump strokes to make up for this. While better than nothing it doesn’t account well for the wide range of PSIs for differing rider weights.
Why PreCharge a Suspension Pump
Ideally you have notes on approximately what is in the shock or fork’s air chamber. The actual PSI may change based on altitude, air temp, shock temp, etc so if you’re dialing in for a new race course you may need to account for this. A good way to work with that is to understand your basic setup PSI as well as sag percentage so you can gauge a starting point setup.
Let’s use the DPX2 shock in the video as an example.
Imagine we wanted to decrease the amount of sag (so add air pressure).
If the starting PSI is approximately 190psi we see that attaching the pump increases the volume and decreases the PSI reading to 180psi. Let’s add 5% more air to the system so we pump the shock up to 190psi and off we go to test it. Now we’ve got the same PSI as we started with. Well not you’ve wasted a run and possibly started questioning setup even more.
Its even more dramatic if we look at decreasing the pressure. 190psi starting point. 180psi on the pump. We drop it 3% to 175psi. Except we actually dropped it 8% and now we’re running through travel or not getting cornering support. Again minimally you’ve wasted a run and it might be hard to convince yourself to go above the original 180psi reading to get where you want to be around 185psi.
By the way checking sag can help avoid these scenarios a bit too.
How to PreCharge a Pump
Prior to engaging the shock’s valve the pump will create an air tight seal. The gauge will still read 0psi confirming it hasn’t opened the valve.
A couple pump strokes will bring the gauge and hose up to pressure. Getting as close as you can to the main chamber will give you the most accurate reading as the system equalizes.

It’s really that easy to do.
Negative Air Chamber
Both forks and shocks have negative air chambers for more supple performance.
Forks typically charge the negative air spring at full extension. The PSI you put in the main chamber shouldn’t change too much.
Rear shocks however tend to charge the negative air chamber around 25% sag. This allows the main chamber air to compress prior to equalizing the negative air, so the negative air chamber retains a higher charge for a more supple feel.
If you forget to cycle the rear shock while setting sag once the shock sags a few times you’re about to be sitting lower in the travel!
In the video you see two examples of the shock’s negative air chamber changing the main chamber’s psi.
The most common issue is forgetting to cycle the suspension. In the video you see that our 200psi setting drops 5% once the negative air chamber is charged. That’s notable on trail.
When setting up suspension, or fine tuning your bike, make sure that you cycle the rear shock prior to checking sag.
A less frequent issue is PSI jump.
Most often this is due to checking the pressure right after a hard drop when the shock has generated internal heat to raise the PSI. If you’re fine tuning suspension on trail try to work with the suspension in a similar heat range each time. Suspension tends to cool quickly. If you can give it a bit before making minute PSI adjustments.
In the video we show a situation where we’ve dropped the main chamber’s psi, in this case by disconnecting and reconnecting the gauge. Yet when the shock is cycled the pump’s gauge reads the same. The negative air chamber recharged the main chamber a bit since it hadn’t been cycled.
