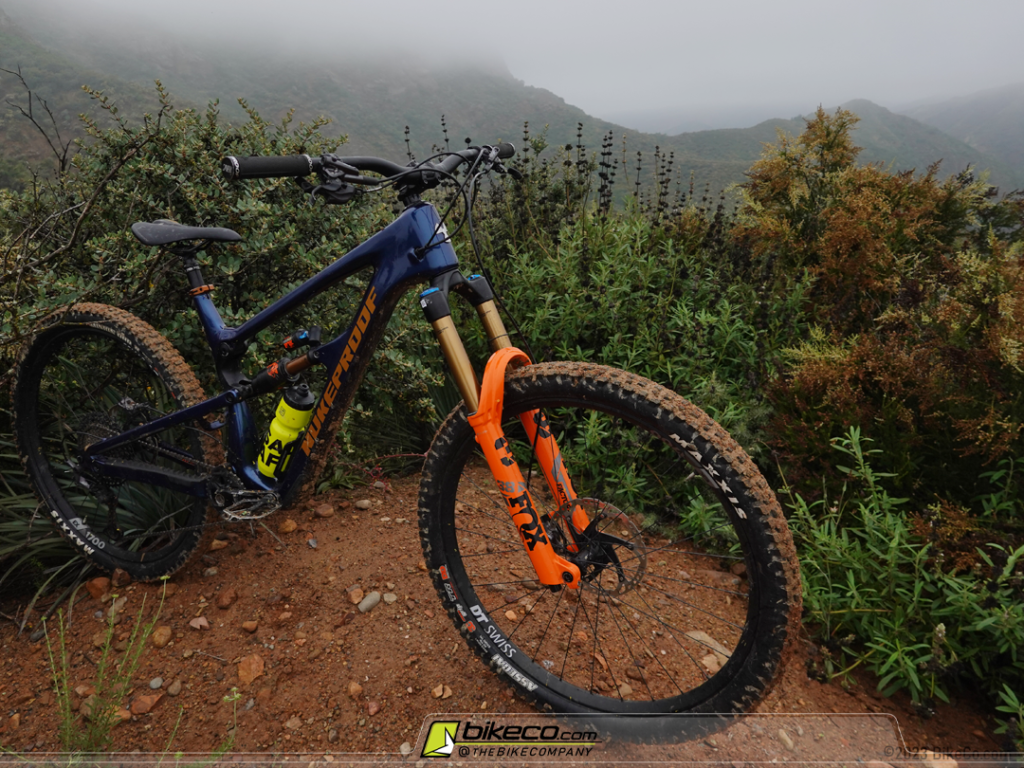
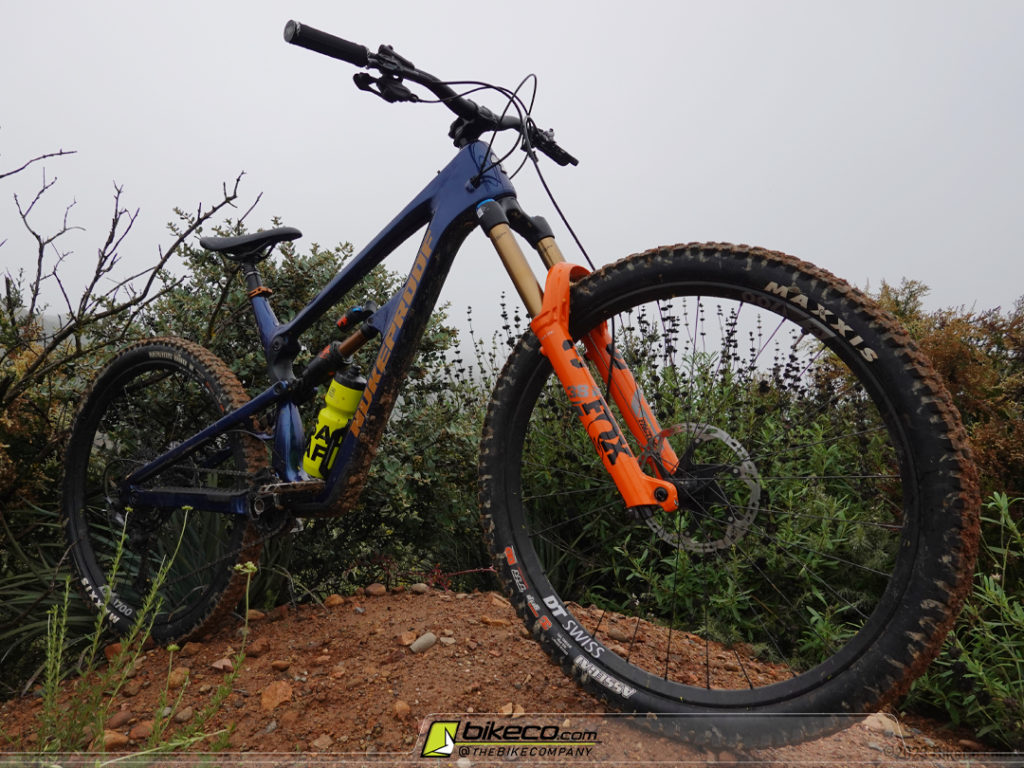
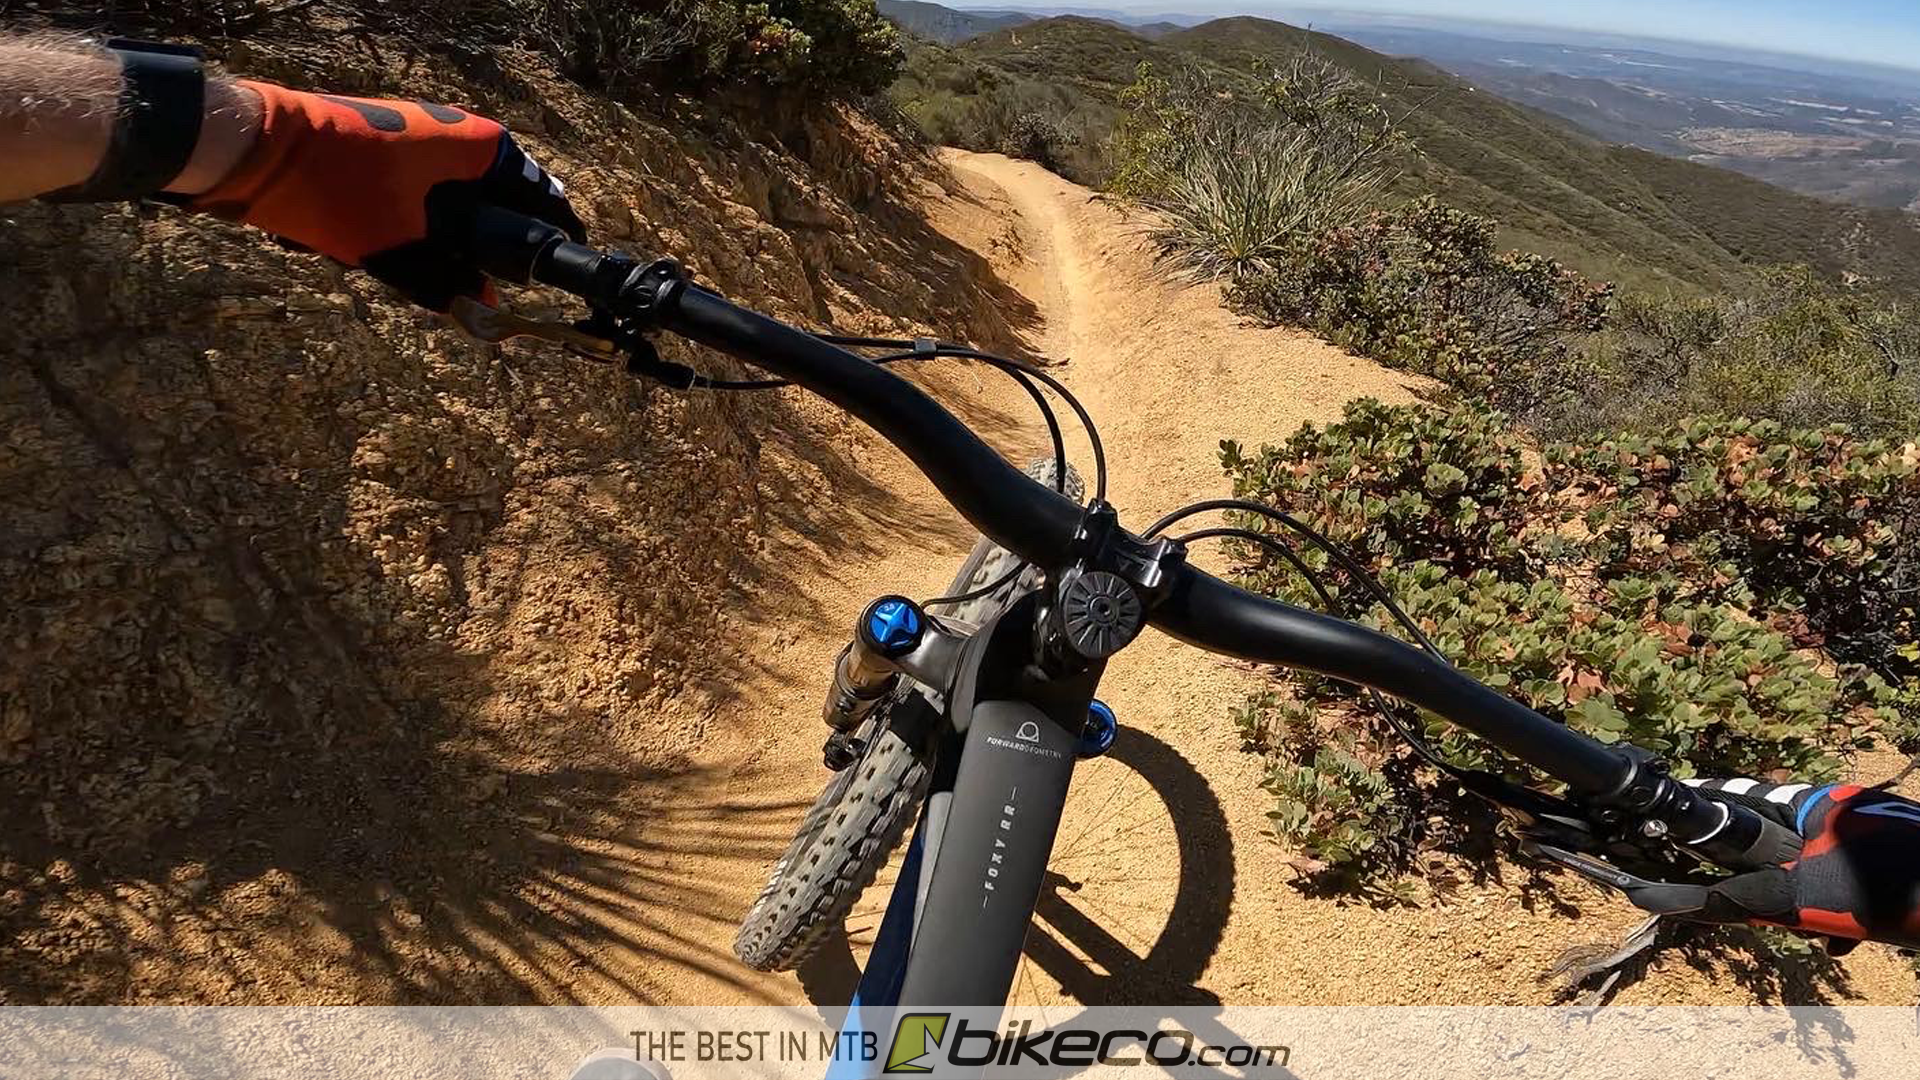
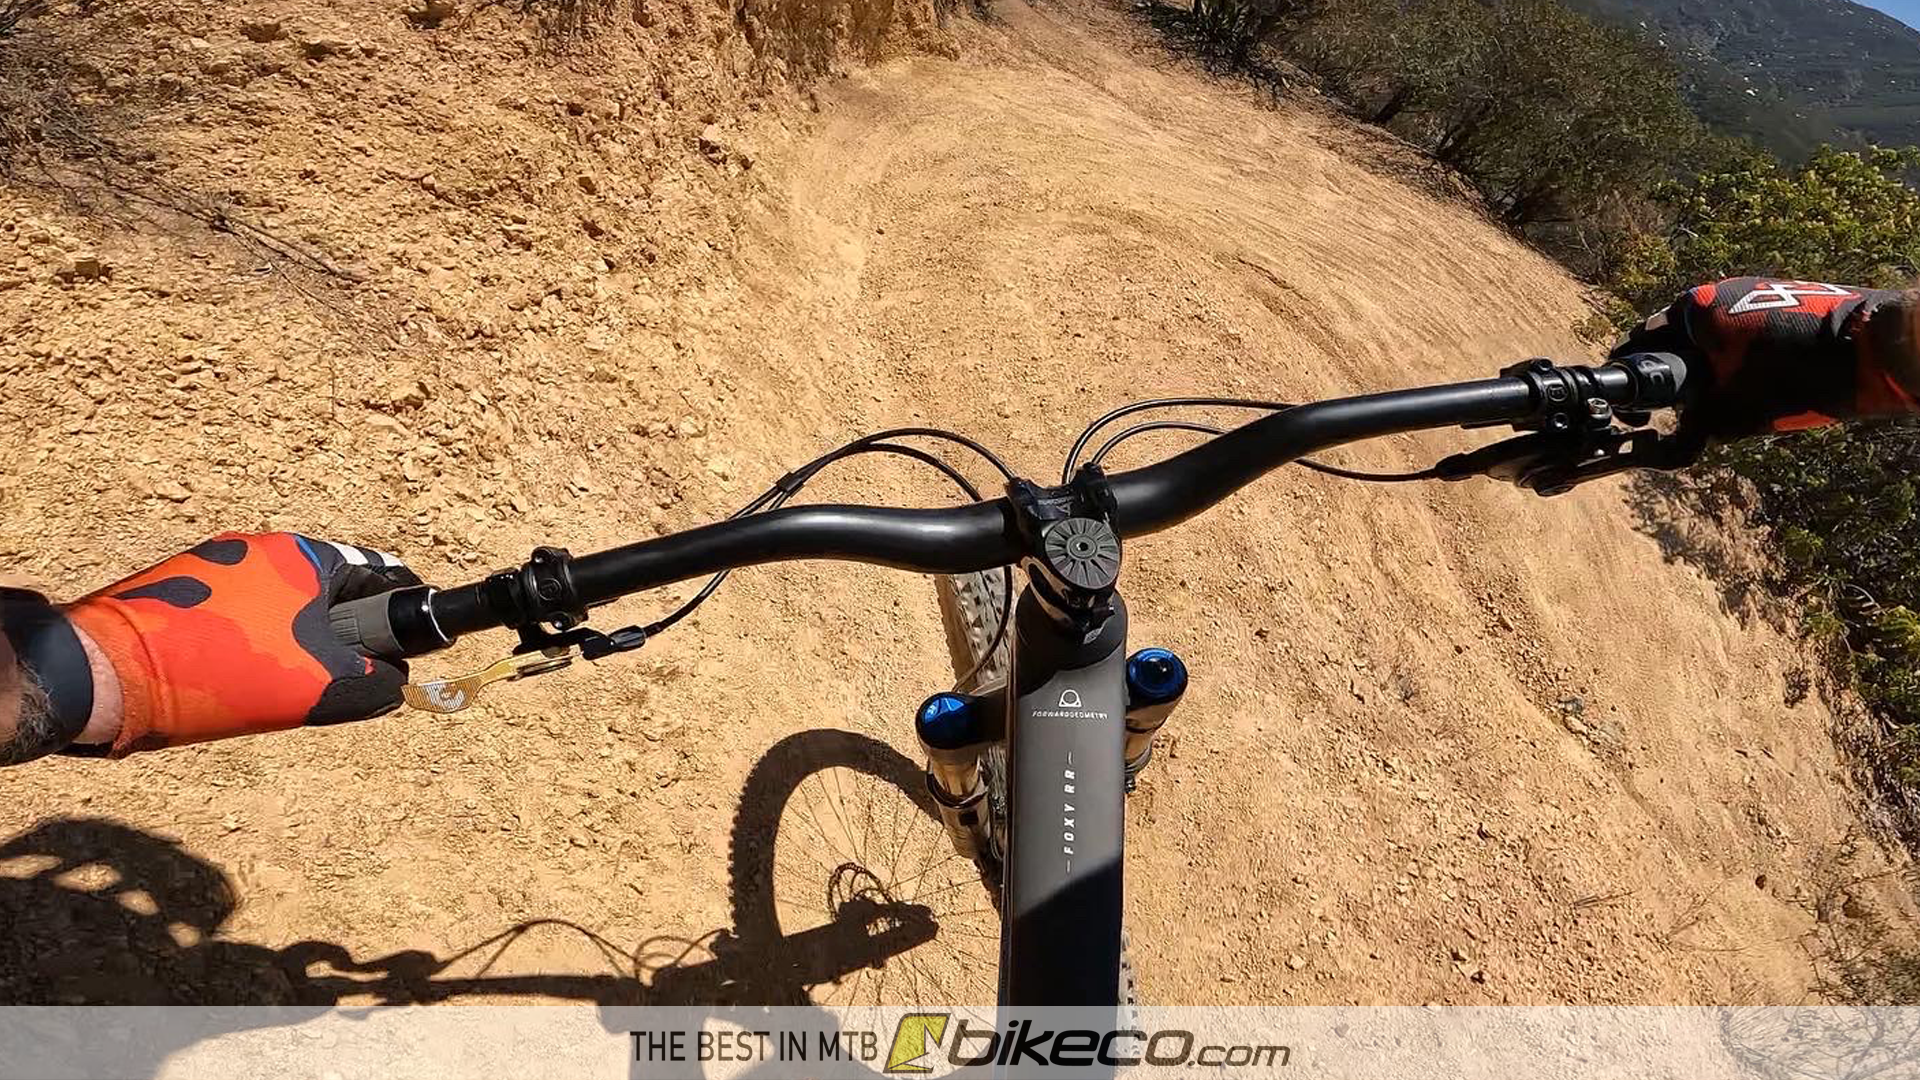
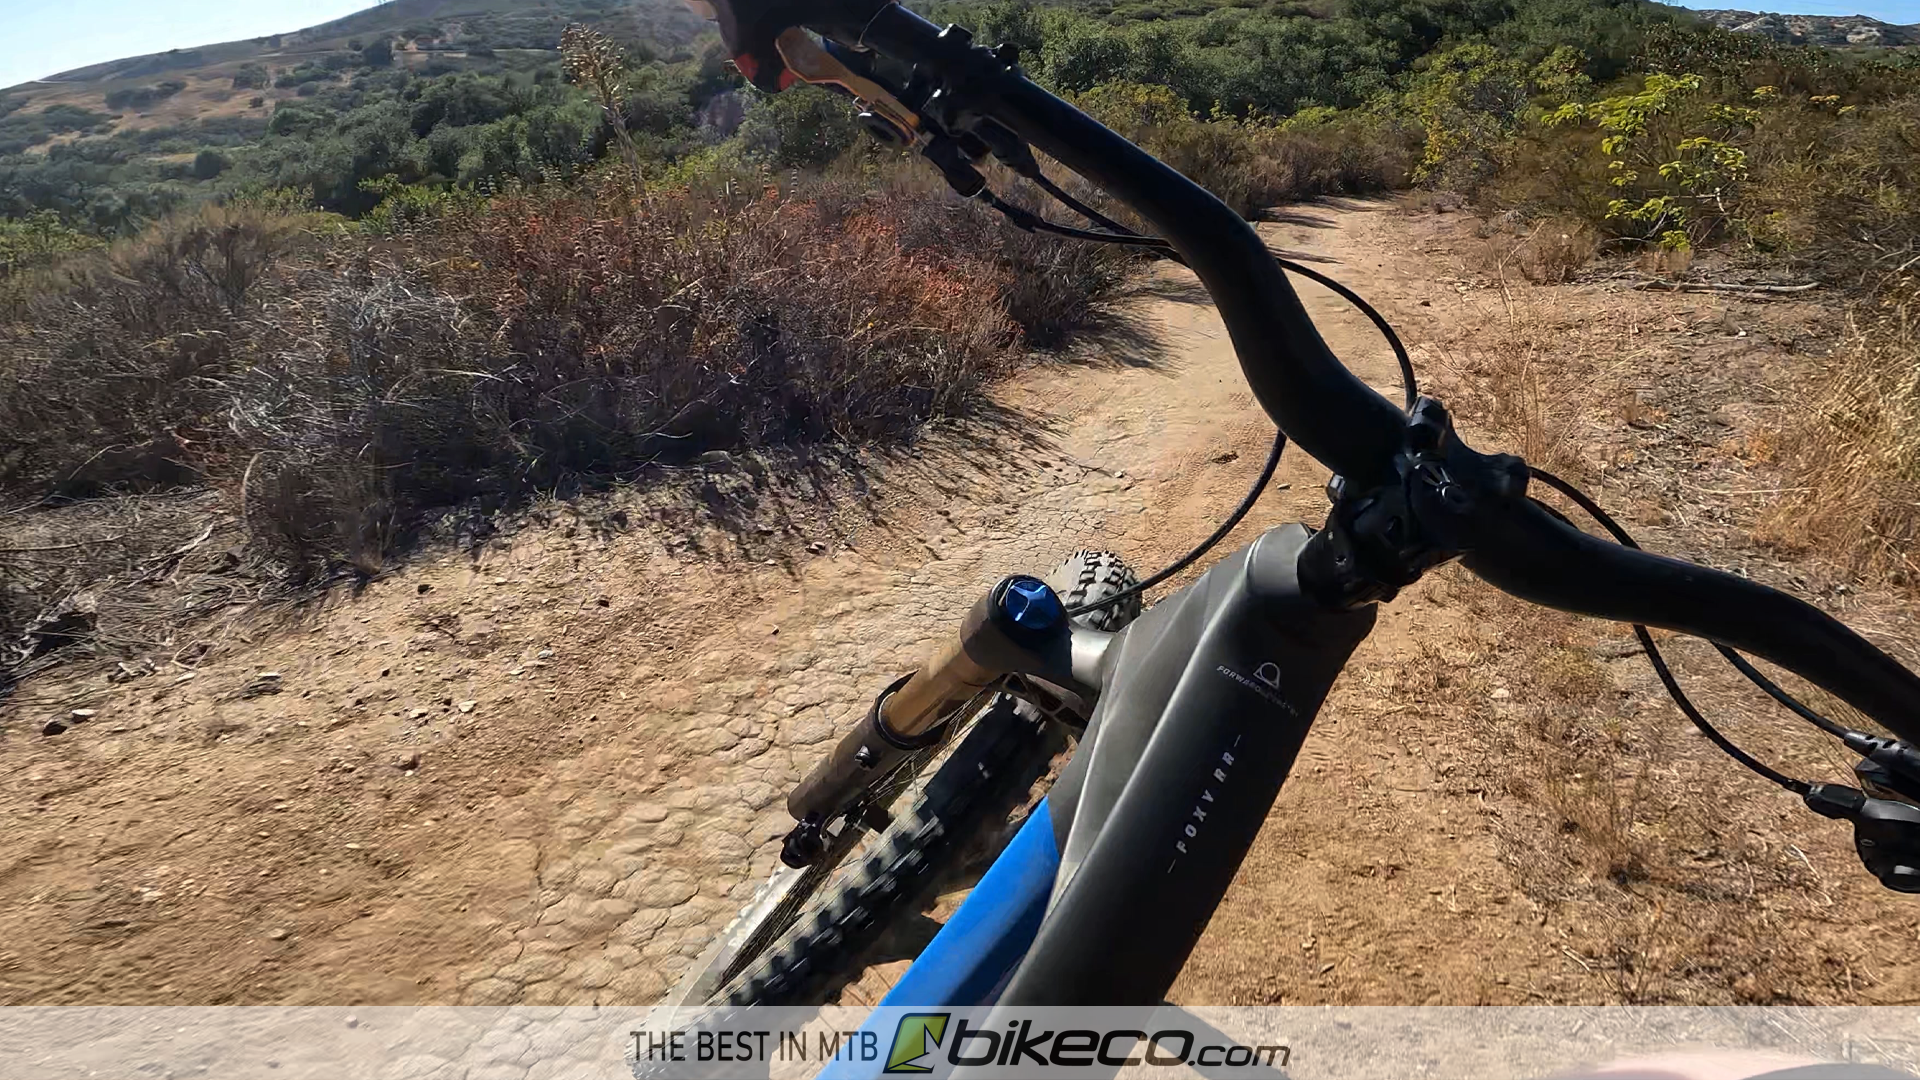
Your new bike from BikeCo.com is on the way, what should you expect? Here’s a video and quick write up on some of the step you’ll have to get your dream bike ready for its first ride.
When you work with The Bike Company we aren’t just putting a new shipping label on a box. Every bike, from full customs, semi-customs, box builds with upgrades to standard factory kits is built, setup and test ridden by our staff to ensure you get #thebestinMTB (and eMTB).
Box Bike Assembly
Let’s touch on some common questions that new riders might find getting the bike out of the box and assembled.
Unboxing a Shipped Bike
You’ll want to start with a clear work area. Ideally you’re going to want to keep everything within arms reach for an easy assembly.
Your bike has been packaged to minimize any risk of damage during shipping. If you note any issues with the box please take some pictures prior to opening the package.
Go slow and take your time to avoid damaging your new bike’s finish!
Common Questions During Unboxing
Wheel Spacers
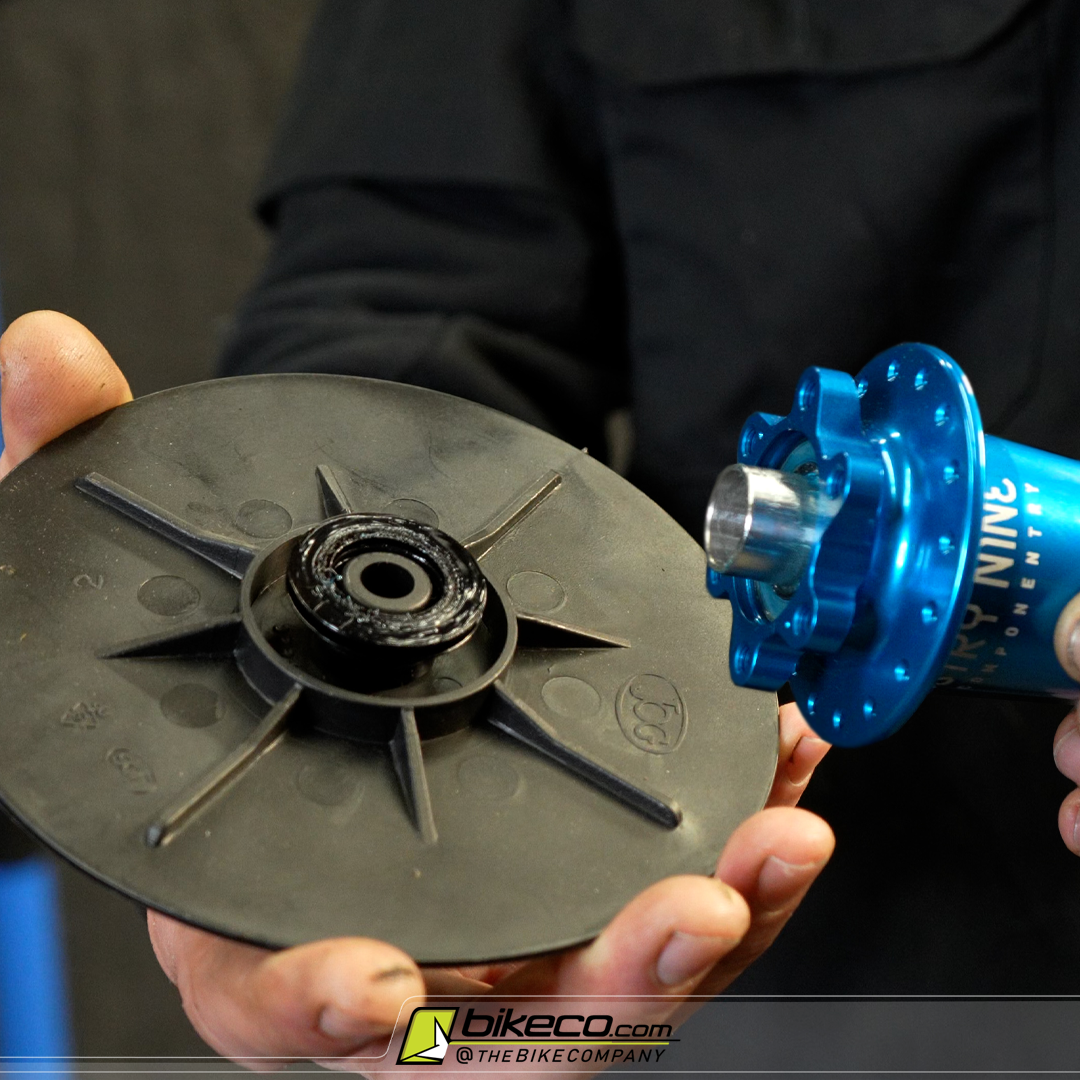
Don’t misplace (or worse throw away) your hub spacers. Hub spacers often stay attached to their plastic protective discs. Few things are more annoying than having to go fish through a trashcan looking for these spacers while building your new rig.
Fork Spacers & Cockpit
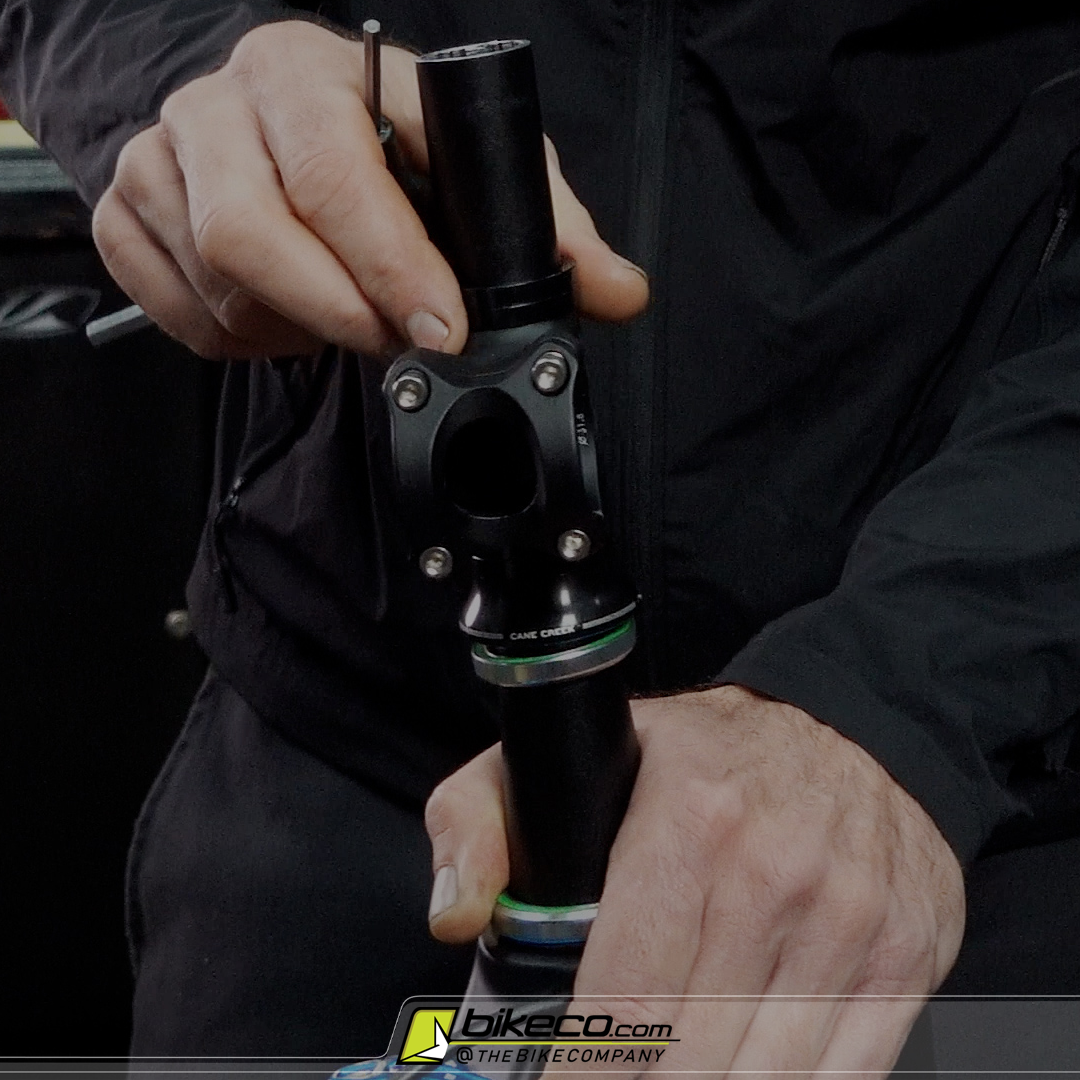
We’ve shipped the bike with the cockpit setup based on your riding details as well as with the headset bits in the proper order. If you’re going to stack all the individual pieces out take a quick photo so you can reference the location of everything.
Hang the Fork
When you hang the fork assemble the headset, install the spacers that were below the stem, install the stem and then install the spacers that were above the stem and stem cap. This will be the setup our team has test ridden based on your height, wingspan, etc.
Install the Handlebar and Controls
Your handlebar is shipped with the rear derailleur and rear brake (if setup standard) installed on the bar.
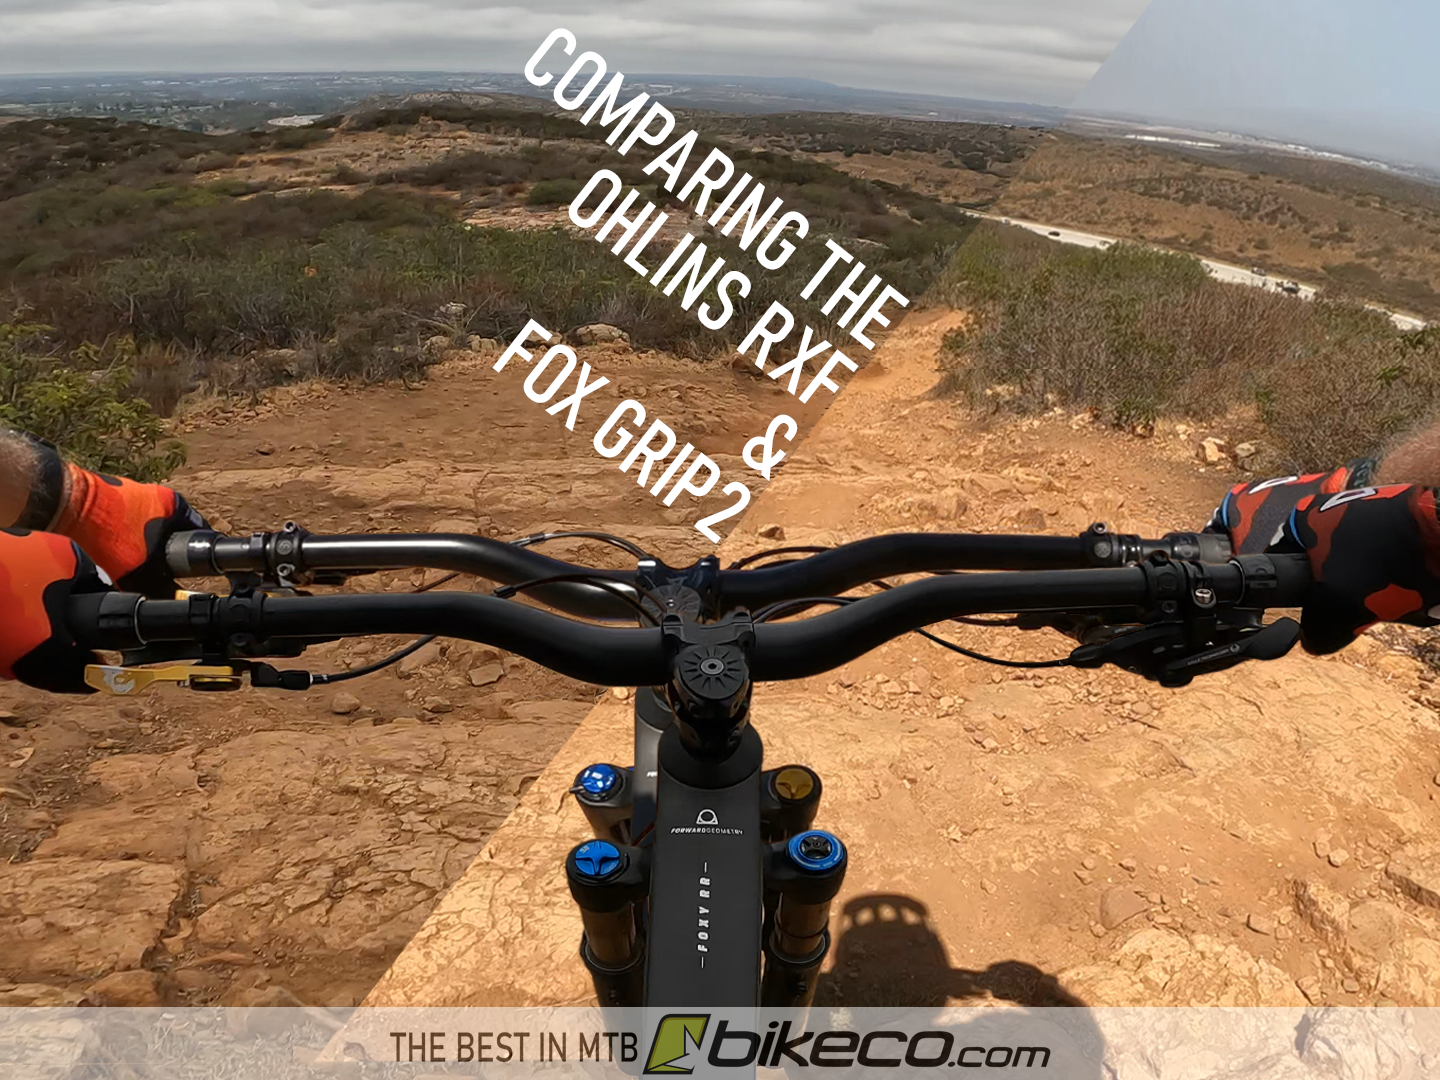
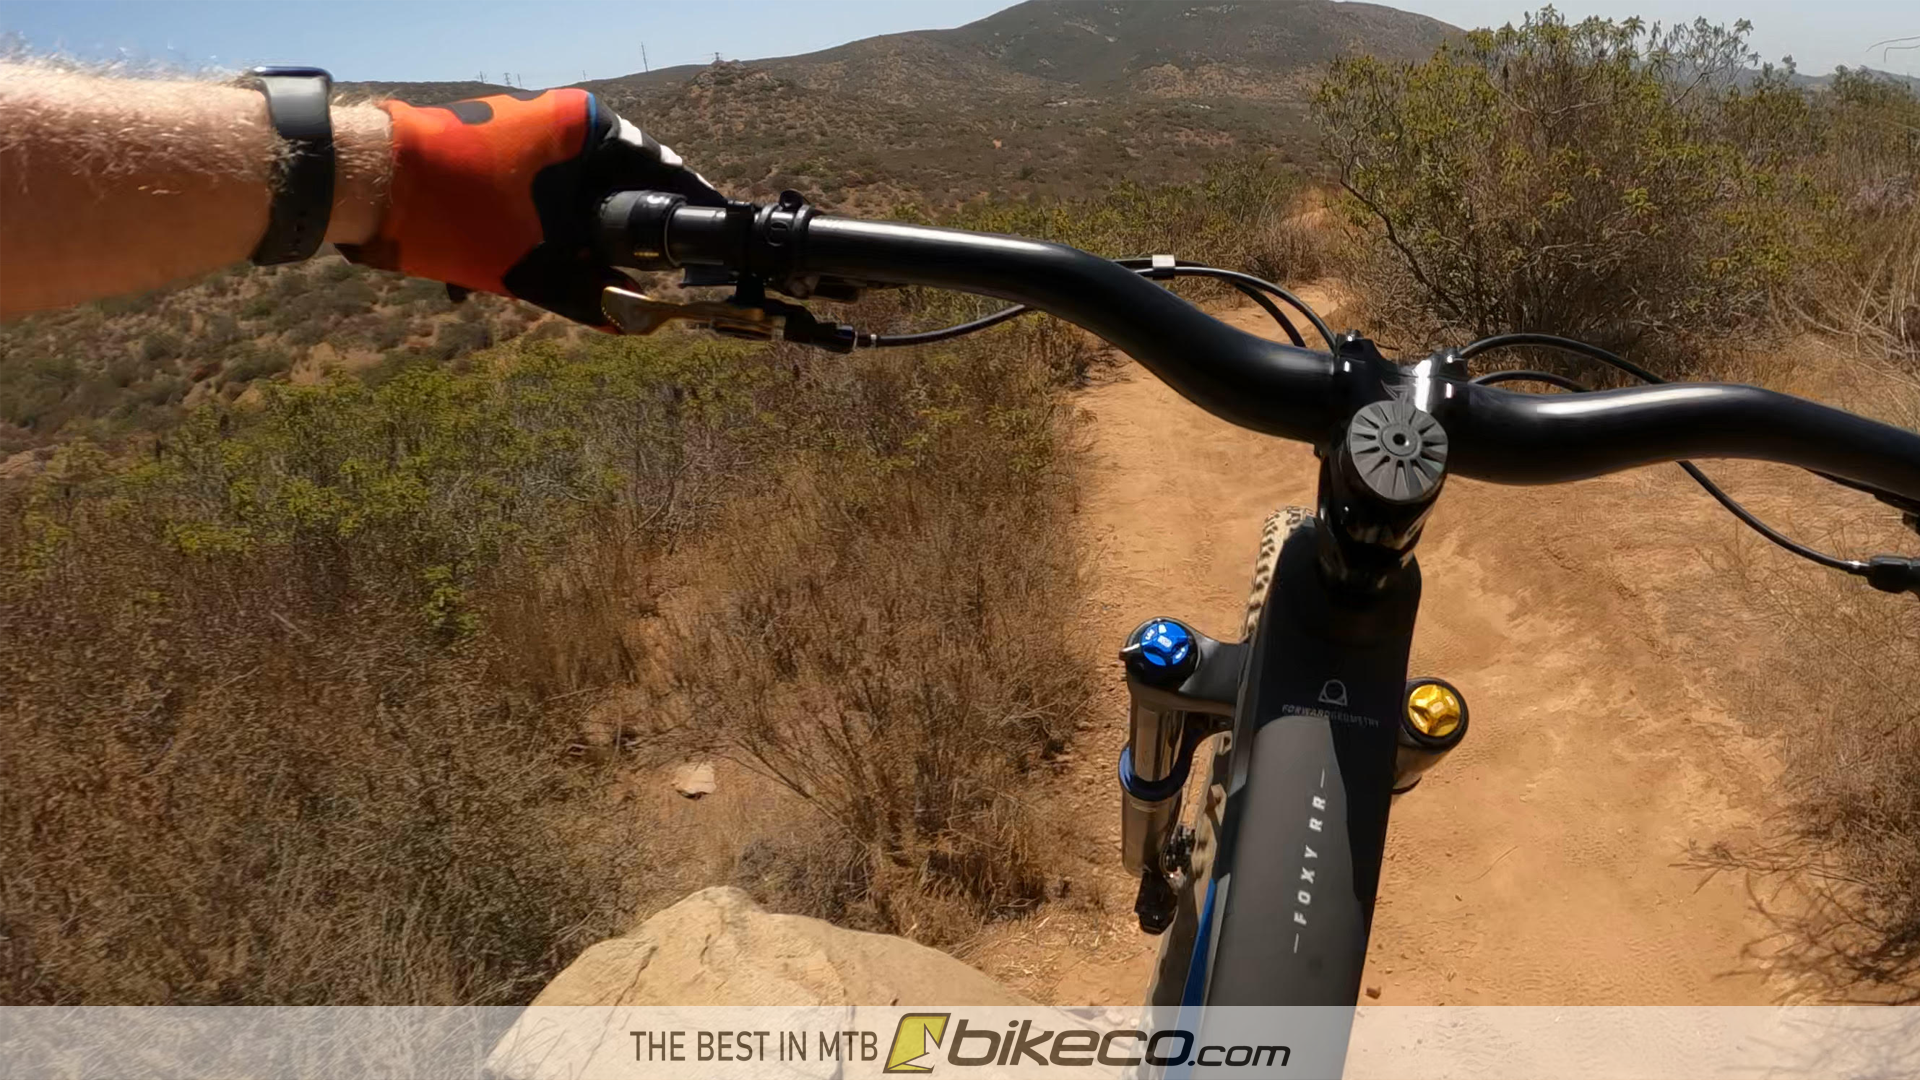
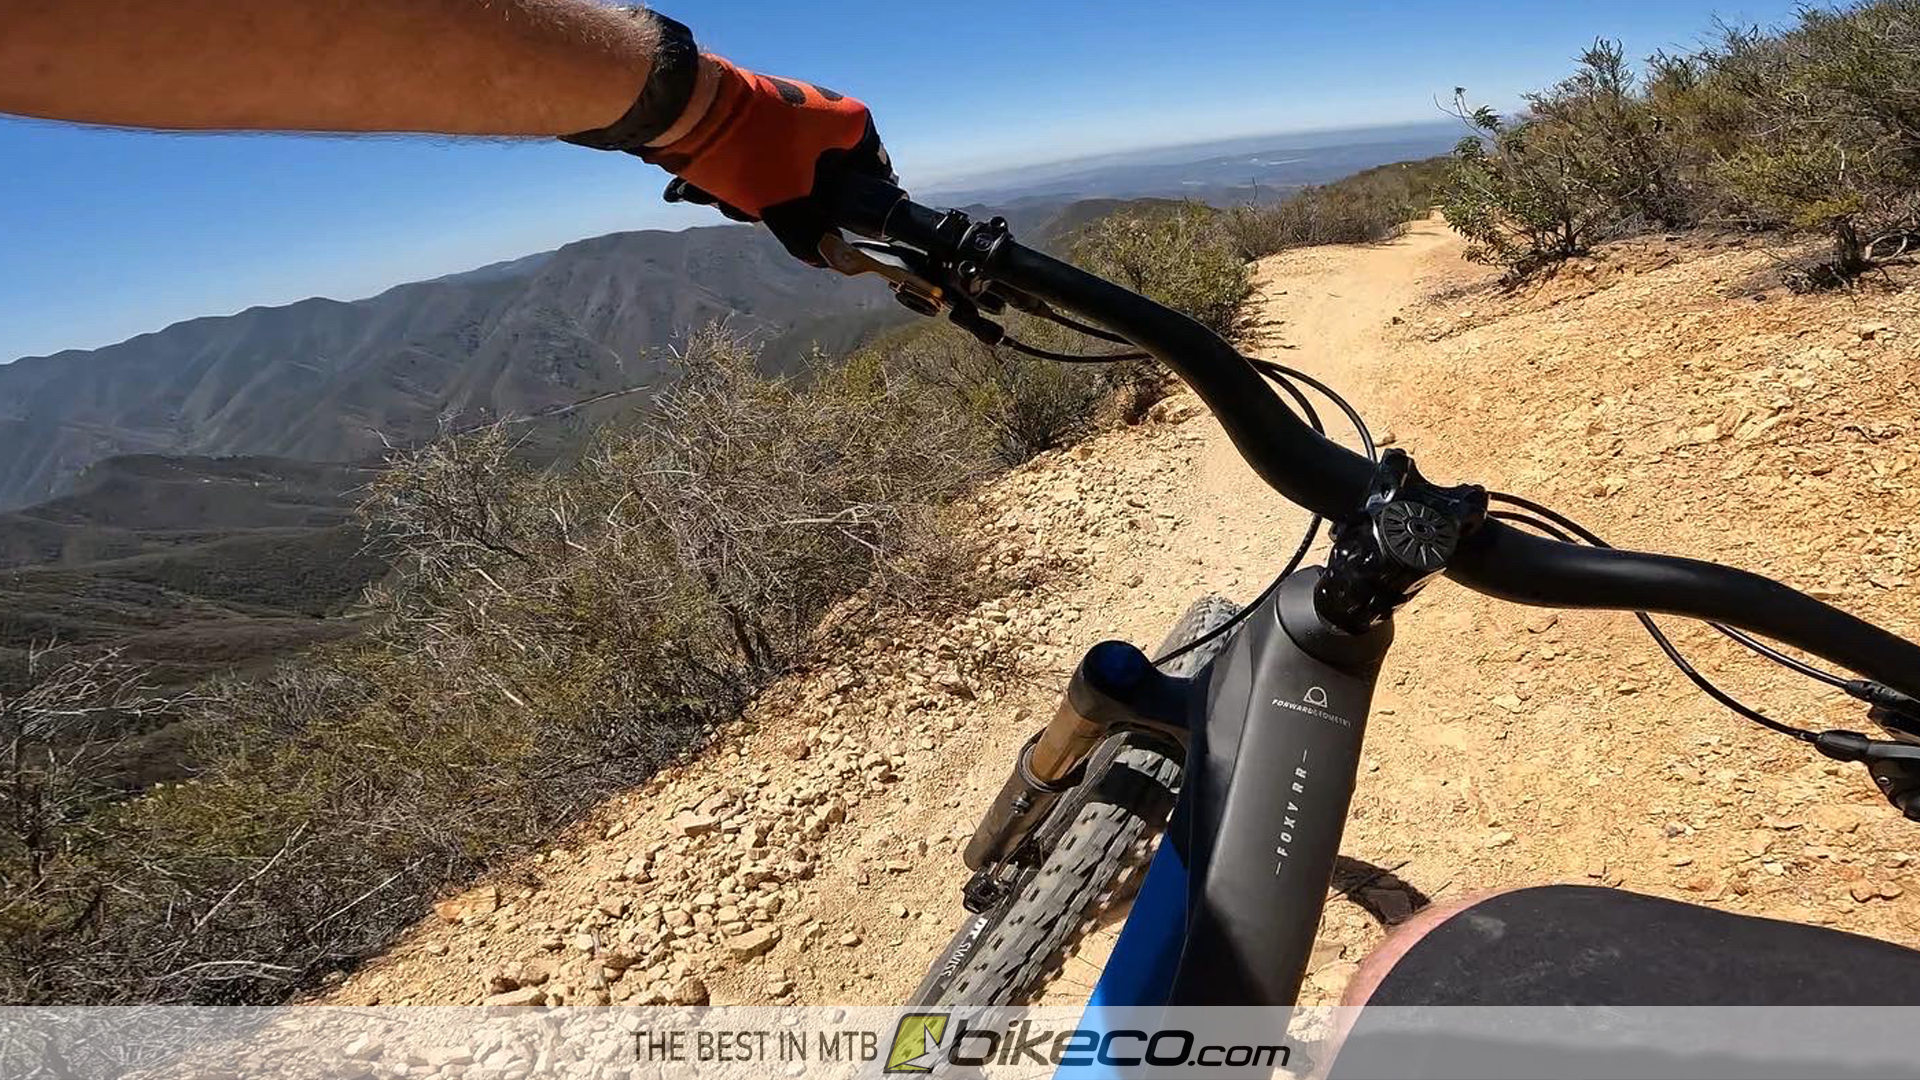
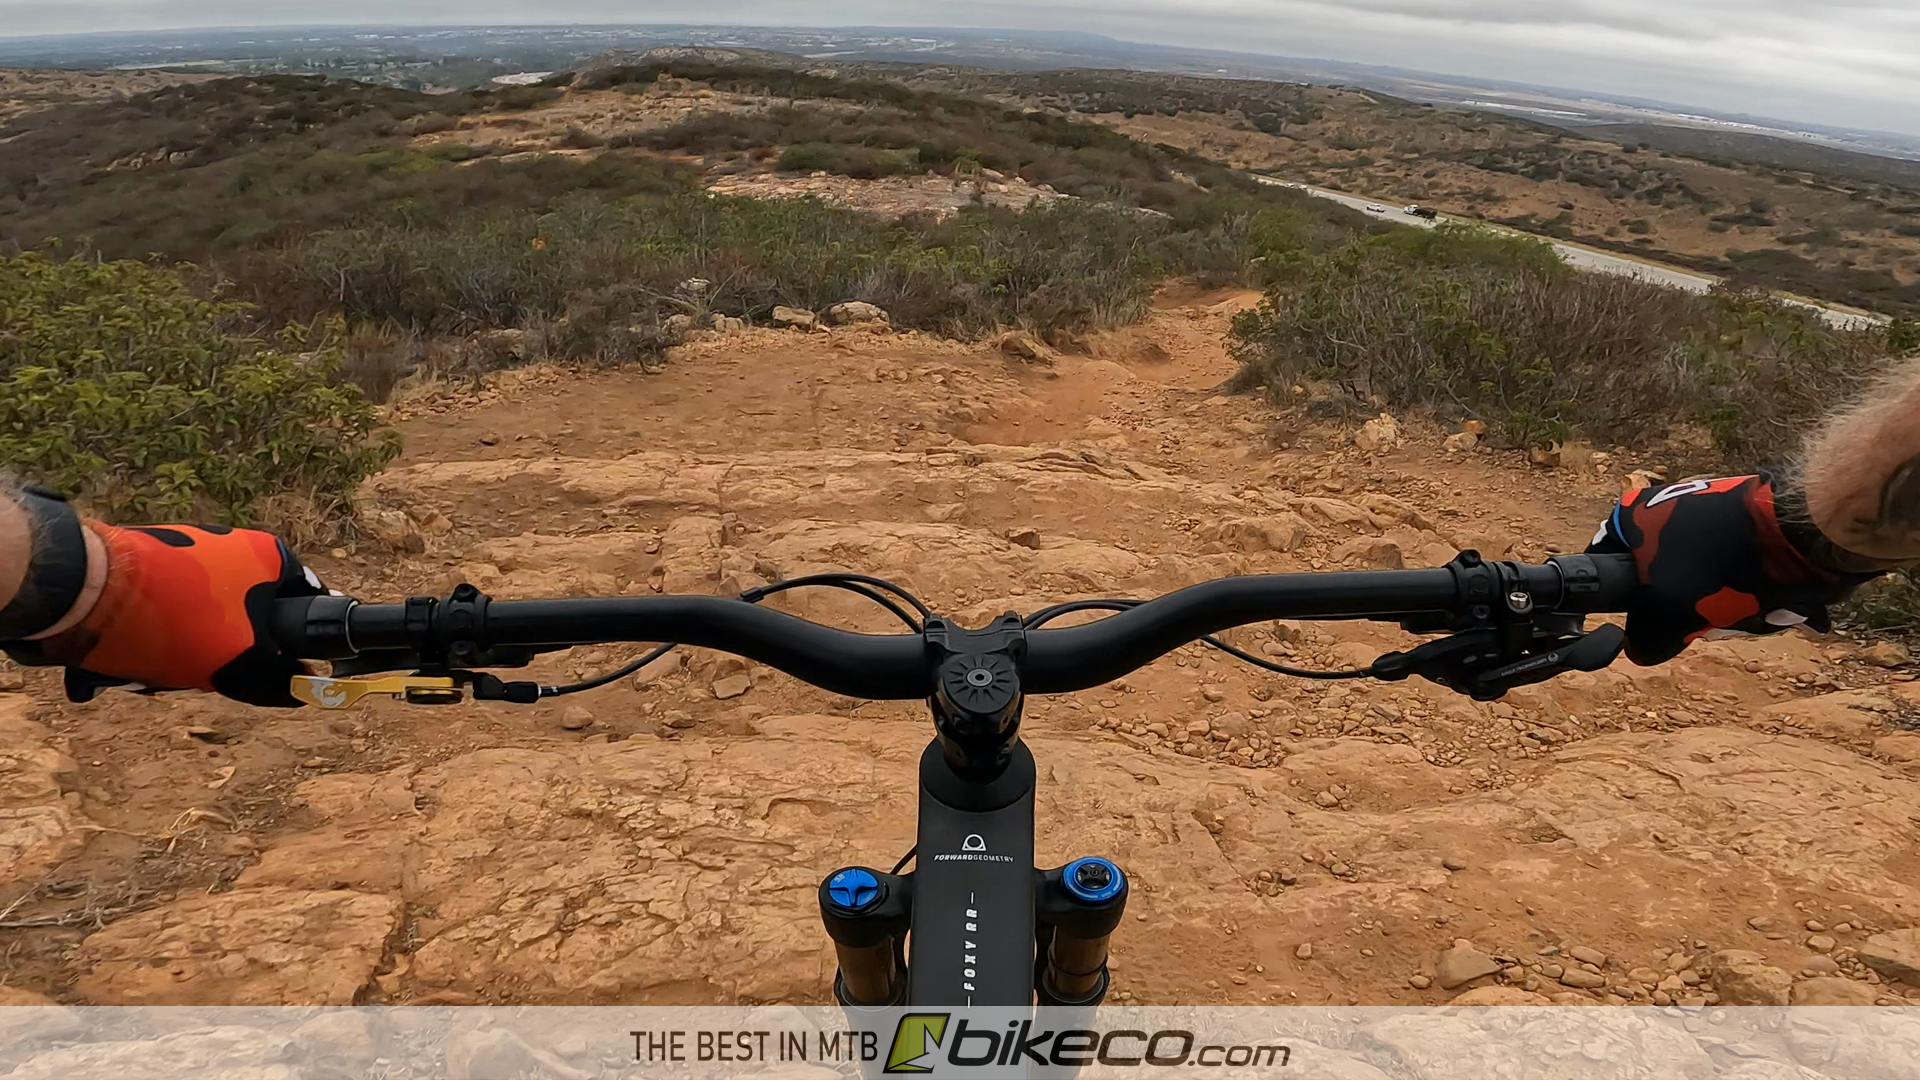
Hanging the front brake and adjustable seatpost on the bar is easiest before you mount the bar into the stem. Make sure you’ve got the cockpit setup so the brake, shifting and seatpost lines hang cleanly (the video has a good example of this).
Once you have the controls on the bar snug the bar and stem interface.
You’ll want to hang the bar in the stem ensuring it’s centered to the bike and set to an appropriate sweep angle.
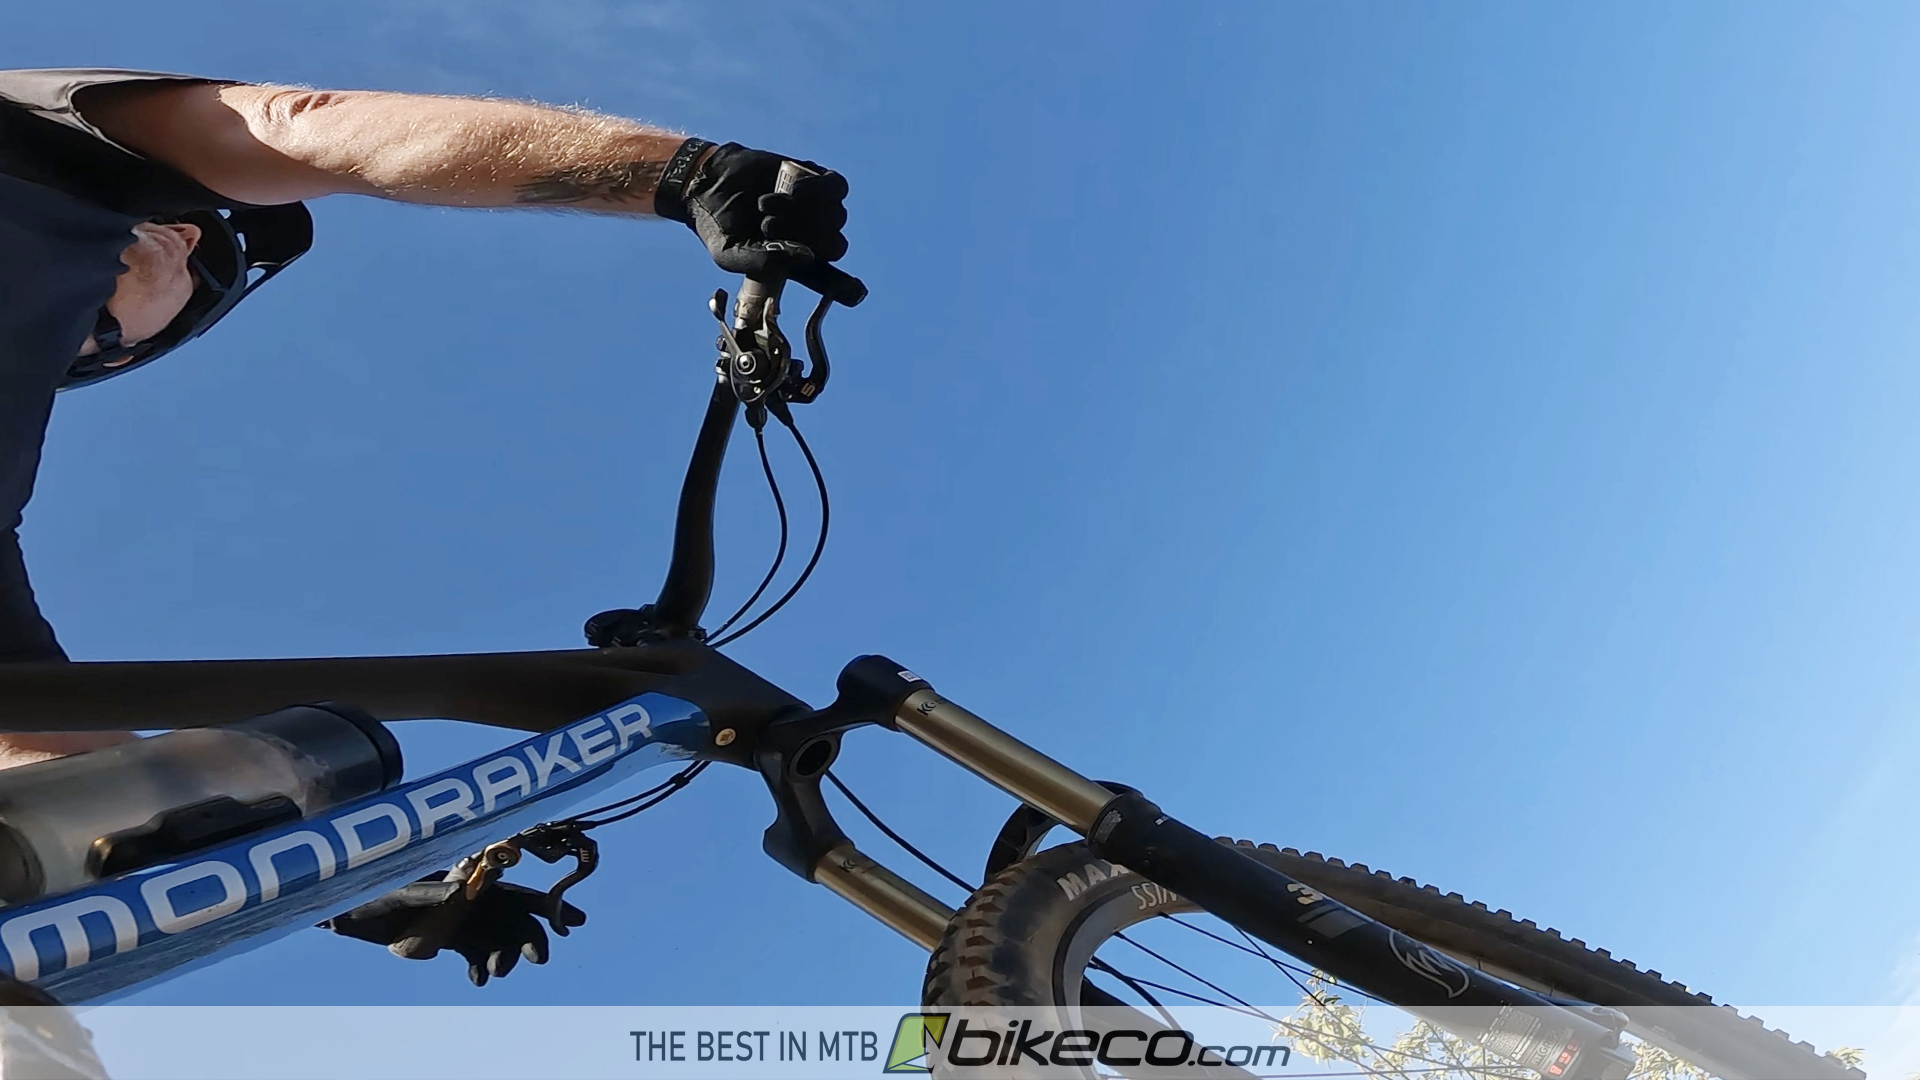
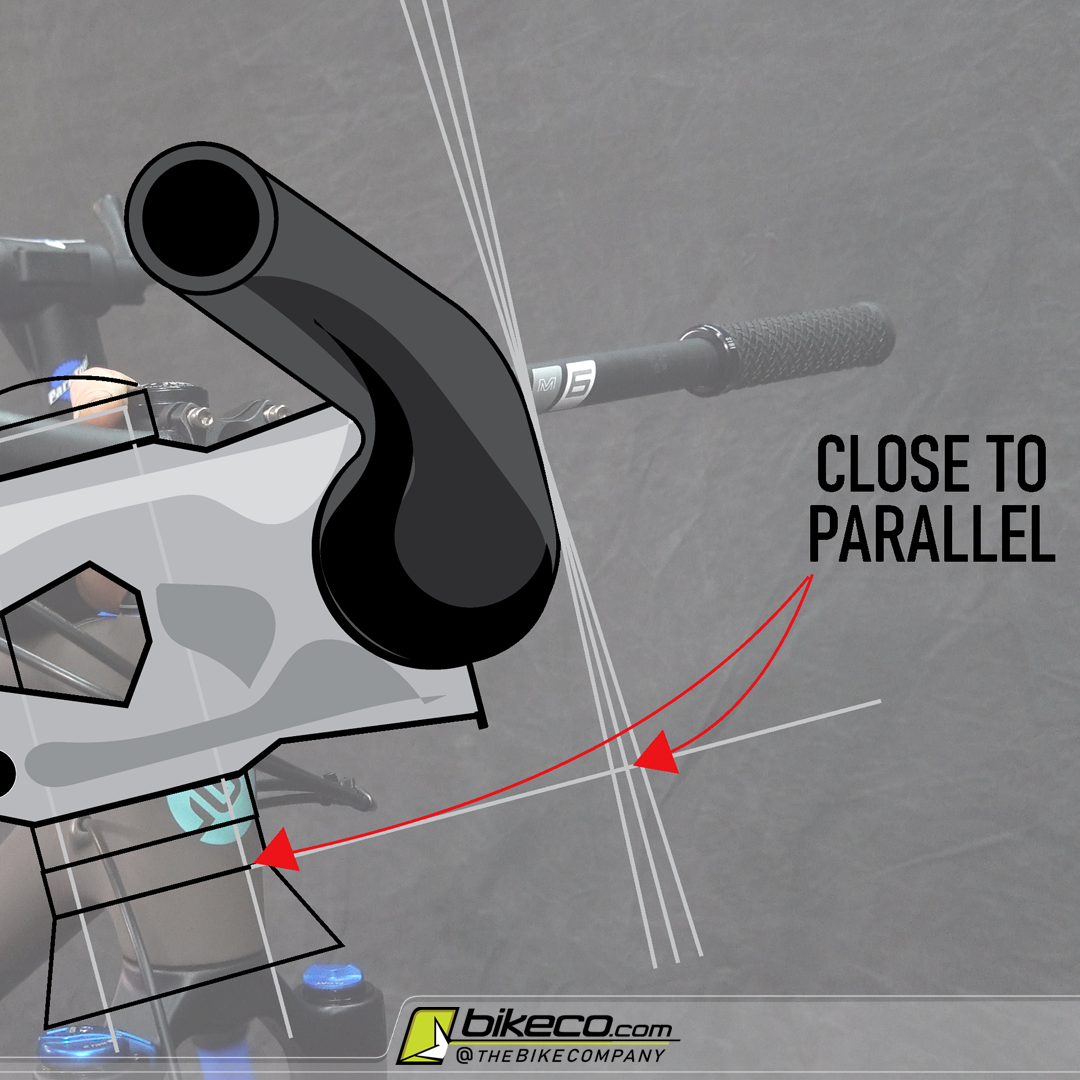
Looking down the side of the bars you’ll want the angle of the bar’s initial rise, from the center section as it thins, to set parallel or very near parallel to the fork’s stanchions, maybe leaned a slight bit forward of the stanchions.
If your handlebar is rotated too far back it creates slow or sluggish performance. If you roll the bar too far forward you’ll find the bike is nervous or twitchy. It’s a small window of adjustment for this overall. If you have questions on this let us know!
When you have your bar and stem torqued align the front brake with the rear brake as well as the seatpost remote with the shifter angle. This will give you a nice ergonomic start.
Ensure that your controls are torqued and won’t rotate or spin, particularly the grips!
Hang the Derailleur (non-Transmission bikes)
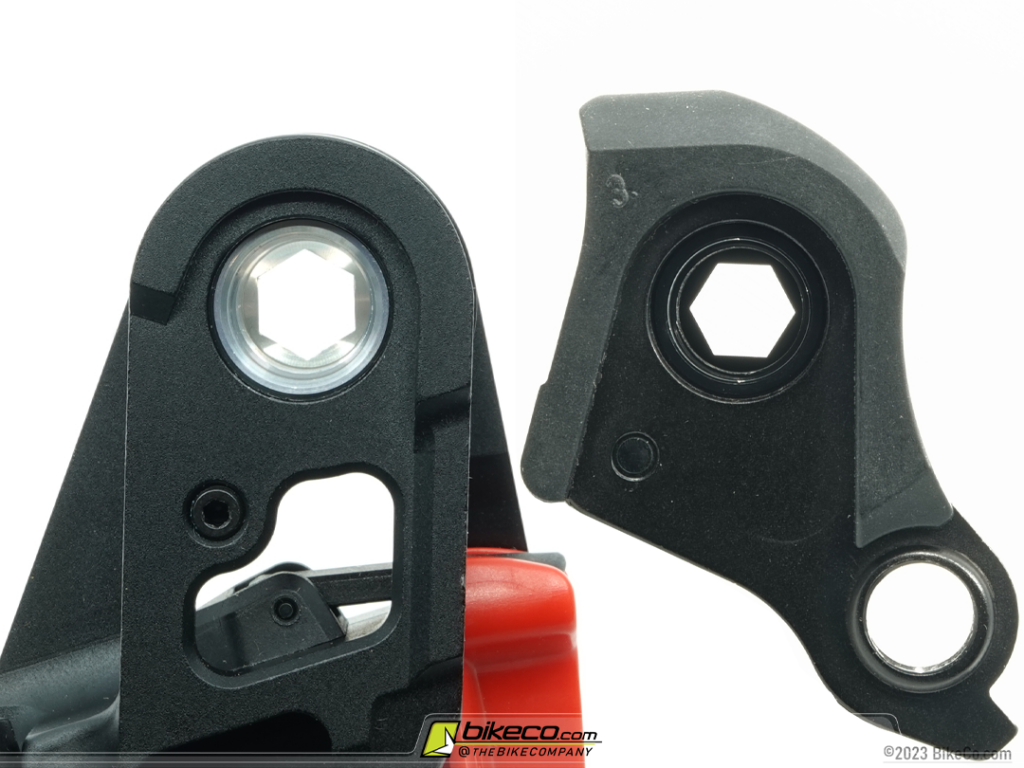
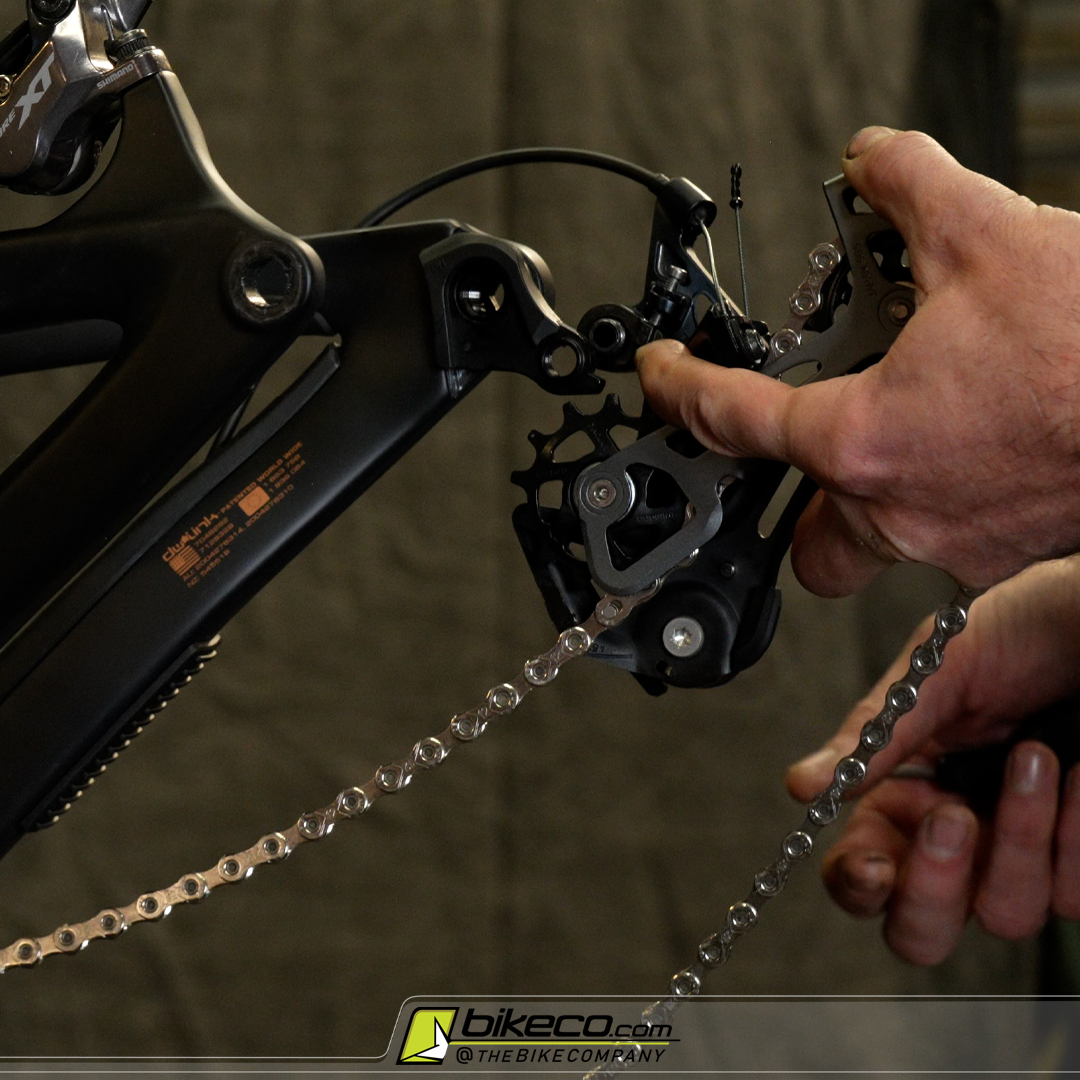
Non-Transmission bikes are shipped with the derailleur loose to minimize shipping issues. You’ll need to mount the derailleur to the hanger.
This is a pretty simple process, however, for new riders there is a single detail that can cause problems.
You’ll need to ensure that the derailleur’s b-tension bolt contacts the derailleur’s rotating tab, which then contacts the tab on the hanger. It’s an easy step, but if you forget and the tab rotates too far forward when you mount the derailleur there won’t be any chain tension.
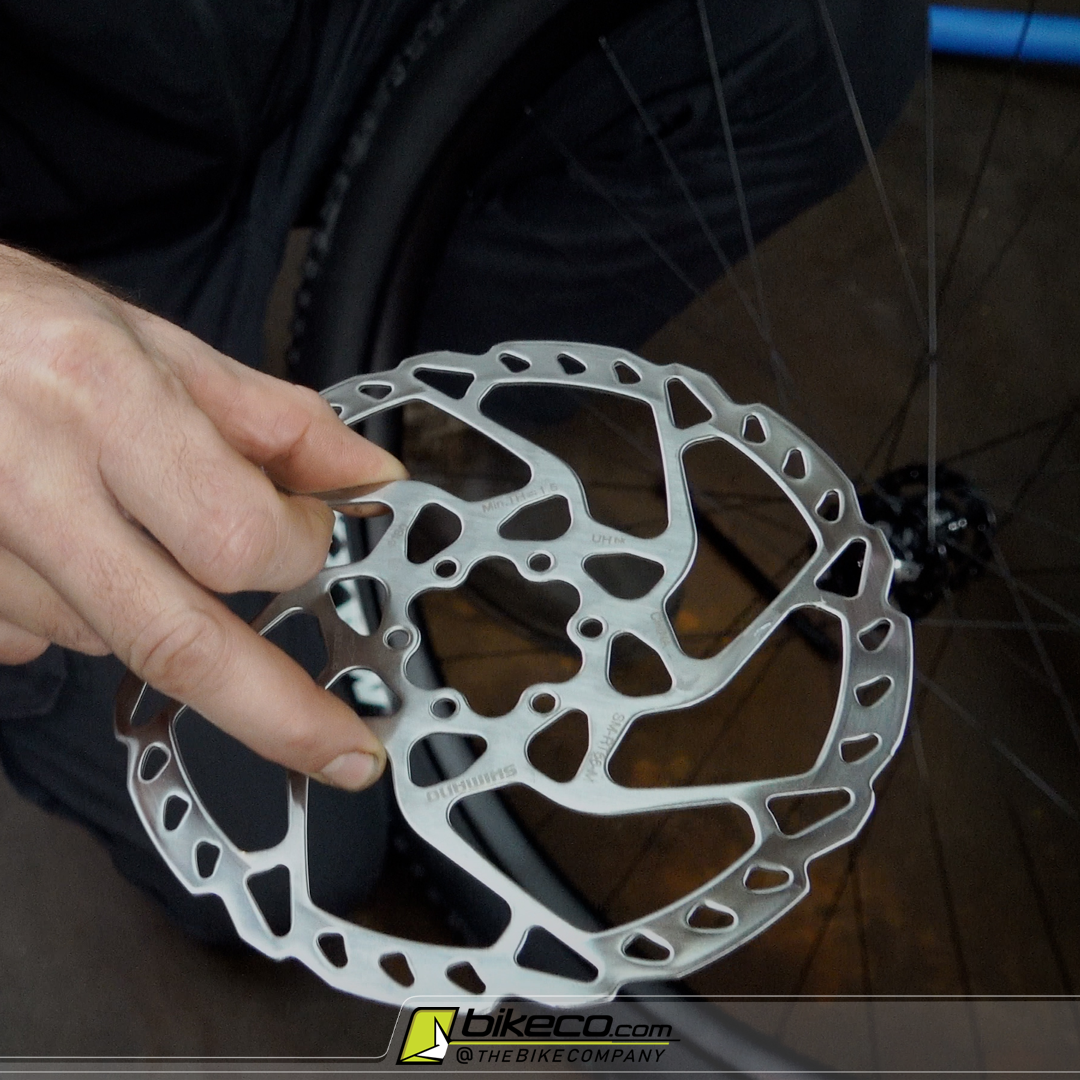
Install the Brake Rotors
Make sure your hands are clean and you only hold the rotor by the inner spider! Rotors and pads are very easy to contaminate and any level of grease or oil will create an awful lot of extra work or may even ruin new pads.
Holding the rotor by the inner spider mount the rotor with the text facing out. Tighten the rotor bolts to torque in a star pattern like mounting a car tire.
Inflate your Tires
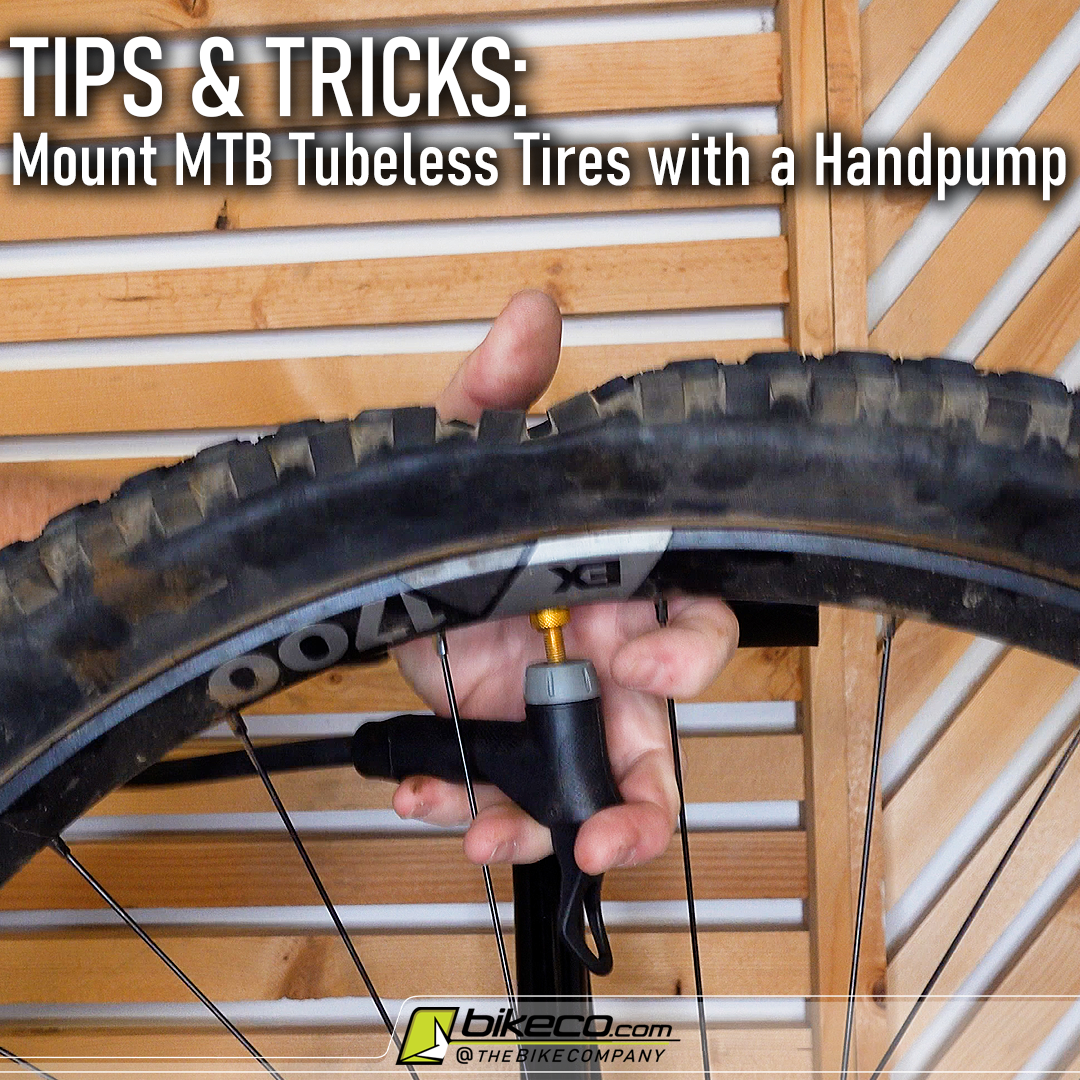
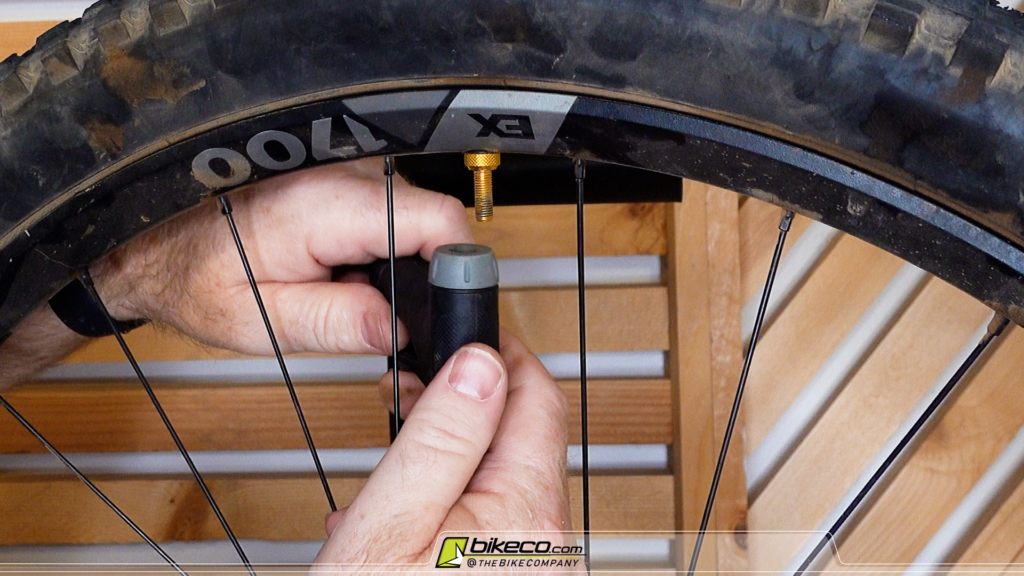
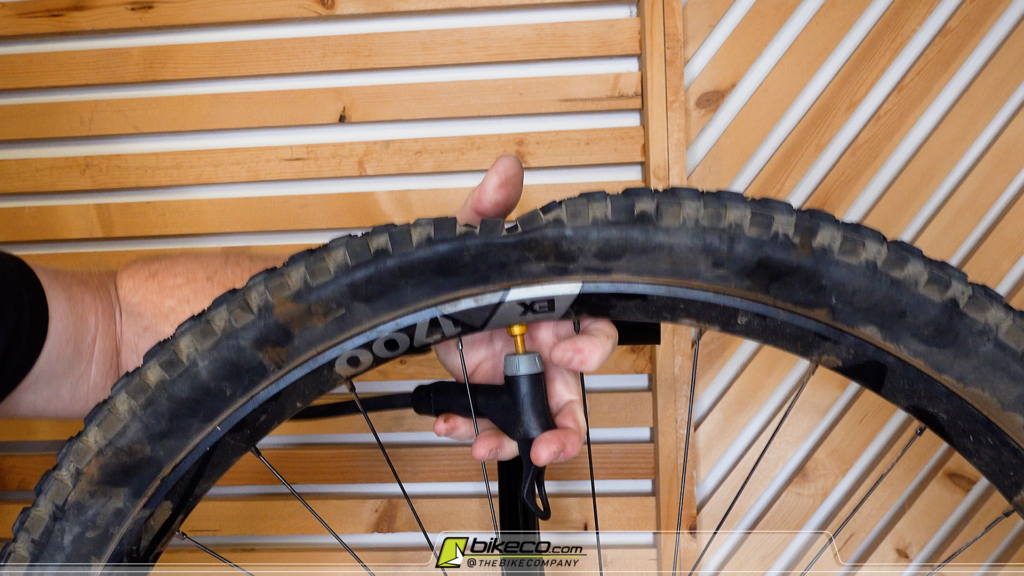
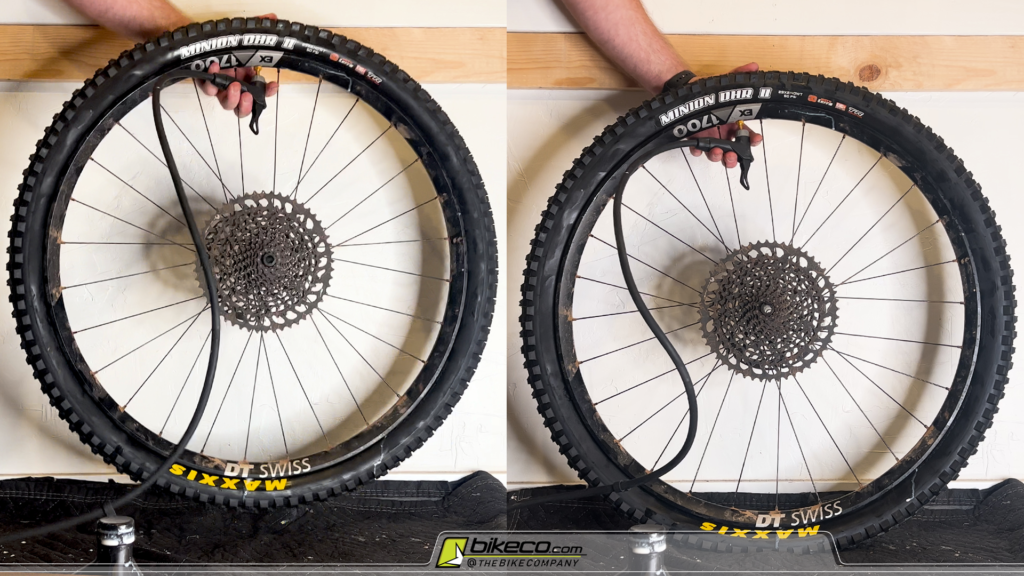
Typically we ship the bikes with tubeless sealant installed (it would be rare, like air freight or another anomaly that would have us ship them dry). The tires have been inflated and the tires have mounted to the rims so you should be able to bring them up to pressure with a handpump or compressor without issue.
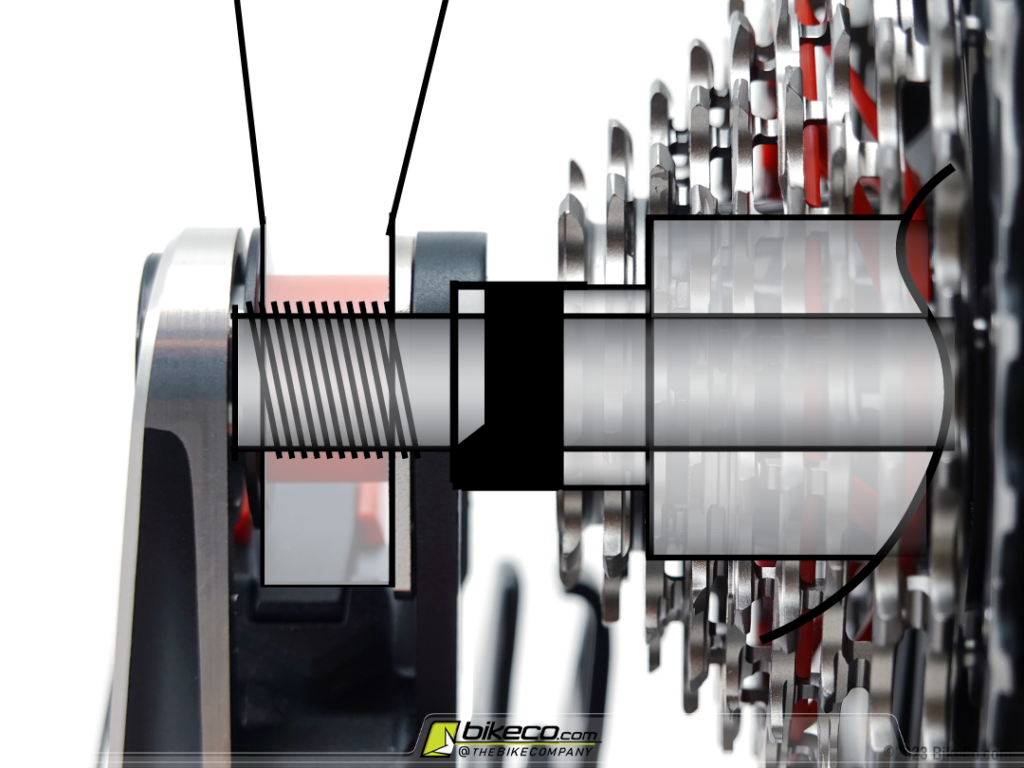
It’s probably a good practice to inflate the tires and “thump” them against the ground while rotating the wheel to splash tubeless sealant across the inside of the entire radius of the tire. When you do the rear wheel put a hand on the cassette to minimize the chance of knocking it free (DT Swiss hubs can have the cassette pulled off without tooling and occasionally will come off when setting a tire!).
Install the Wheels
Hang the front and rear wheel and torque the axles appropriately. It’s easiest to hang the rear wheel with the derailleur set to the smallest cog on the cassette. This gives you the most play with the chain and eases wheel installation.
SRAM derailleurs should be set in the “open” mode to ease this step. Shimano derailleurs should have the clutch disengaged.
Once the rear wheel is installed reset the SRAM derailleur to “ride” or engage the Shimano clutch.
Align the Brakes
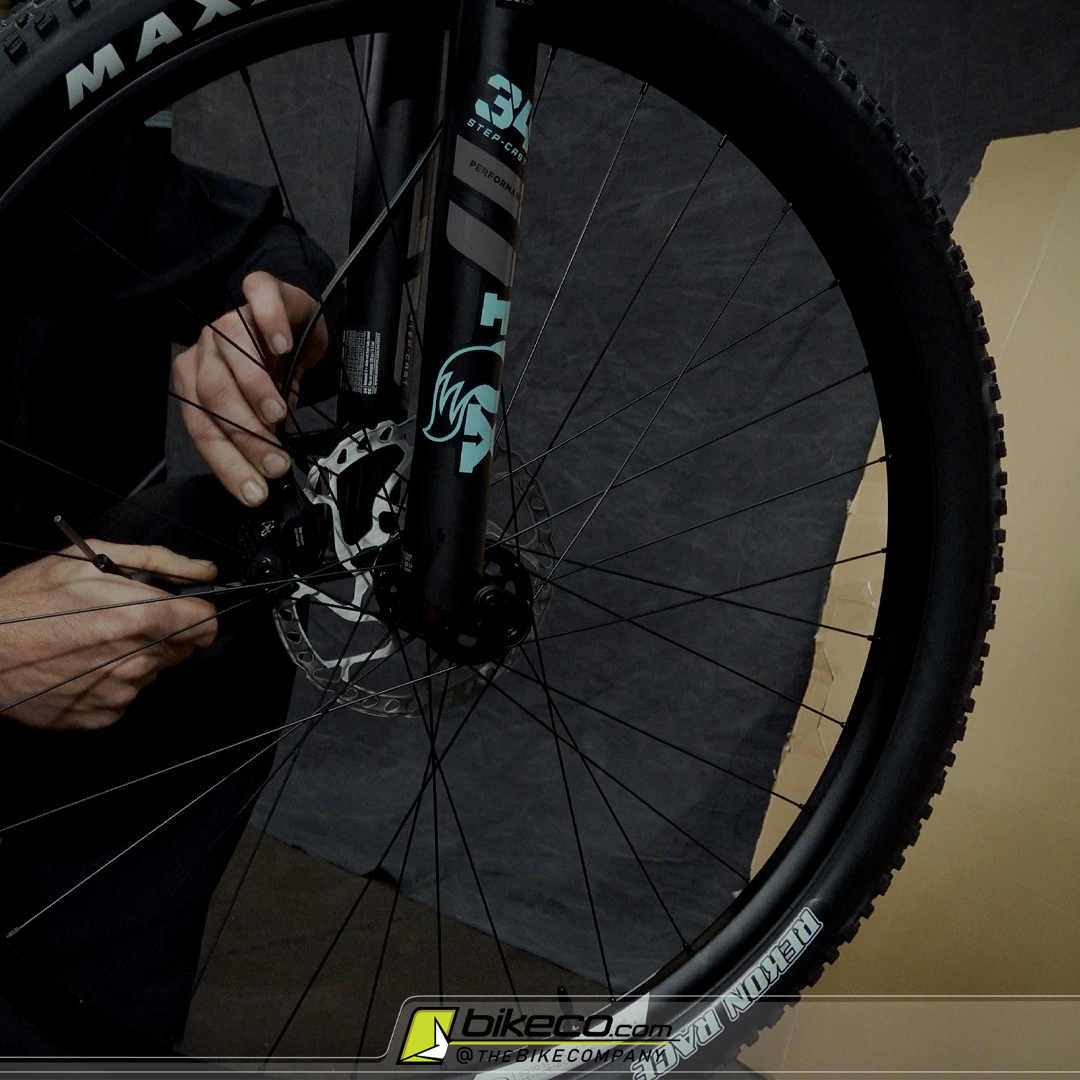
You’ll probably need to make some minute adjustments to the caliper after unboxing a shipped bike.
An easy way to do this is to use the box, or another light-colored large material behind the caliper. This lets you more easily see the brake pad to rotor spacing to align the brakes. As I’ve aged I found this suggestion by Joe works much better than trying to use a flashlight “down” the caliper.
Check the Shifting
Unlike the brakes it’s very rare for a derailleur to need any adjustment after shipping. We have other content available if you do need to make small adjustments – but it’s not a common issue. Your bike should shift easily out of the box – before you start making wholesale adjustments check the derailleur and wheel installation or give us a buzz!
Adjust the Headset
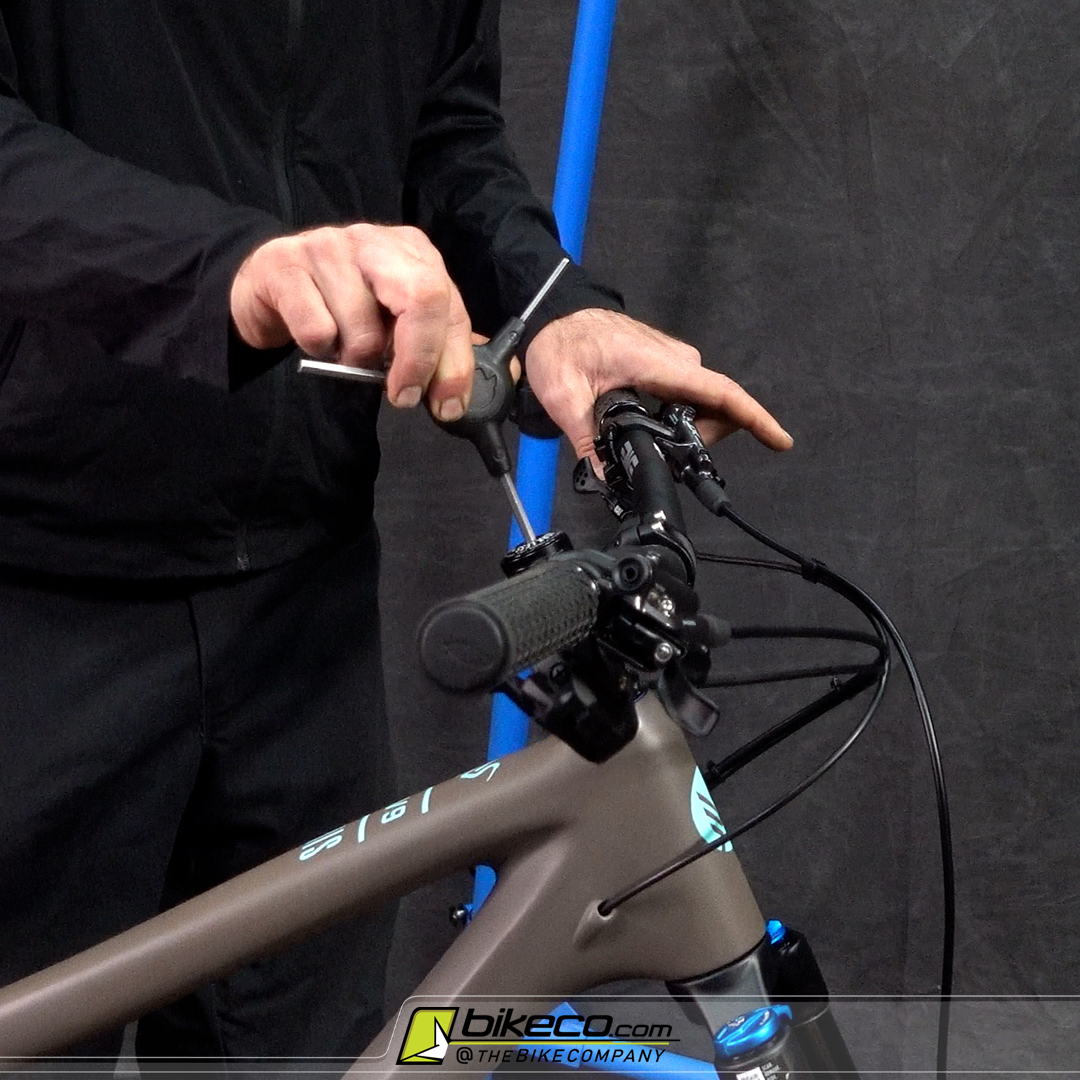
Keeping the headset adjusted is important to your bike’s performance and lifespan.
The easiest way to adjust an MTB headset is to apply the front brake with one hand and with the other slightly rock the bike fore and aft while slowly tightening the stem cap adjustment bolt.
When the headset no longer “clicks”, or you feel the headset moving stop tightening the adjustment bolt.
If you have questions about adjusting a headset we have a full video available as well.
Straighten your Handlebars
Standing over the bike with both eyes open straighten your handlebars. BikeCo owner Joe Binatena likes to slightly slap the grips to center the bar.
Once the bar is straight you’ll tighten the stem. Switch between the stem bolts slowly bringing each up to the proper manufacturer’s torque setting.
Check to ensure your cockpit doesn’t slide prior to test riding.
Suspension
Your bike has been setup at BikeCo based on your riding specifics. We’ve included a suspension setup sheet to give you a reference point. We suggest test riding this setup and notating any small adjustments you may make. If you find yourself wanting to make wholesale adjustments contact us so we can help define what you might be feeling (our setups are typically very, very close!)
Bed In Your Brakes
We’ve done a handful of stops to start the brake bed in process. But you should do a dozen good power ups and stops to bring the brake system up to full power. You’ll be removing any manufacturing or shipping glaze on both the pads and the rotors.
Bolt Checks
New bikes need bolt checks. Period. Bring a multi-tool with you and check your cockpit and control bolts after your first test ride and keep an eye on them for the first few trail rides.
Hardware is designed to be as small and light as functionally possible so there is some settling to be expected.
Personally I find my bikes will loosen up the first couple rides then settle in where I can increase the service length (riding time) between full bolt checks.
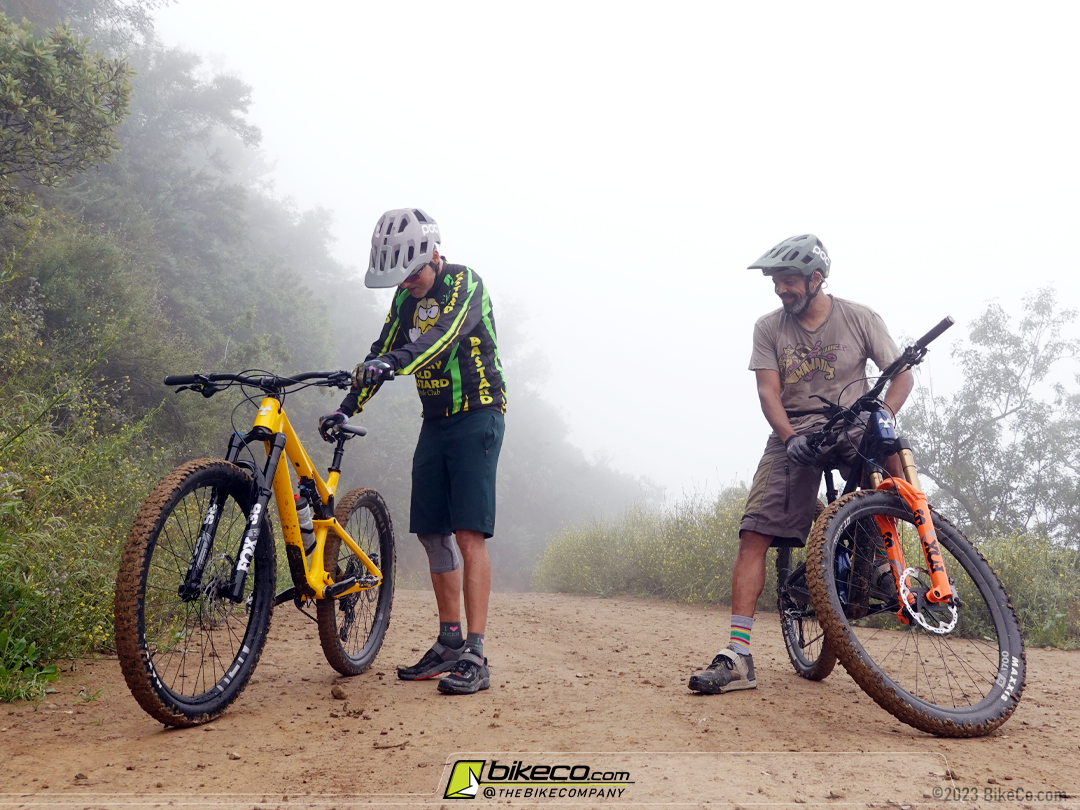
At this point you should be ready to test ride your bike! If everything feels good at your house or the parking lot take it to your trails. The best trails are the ones you’re totally comfortable with for familiarizing yourself with a new bike.
Our team will be in touch several times with a set of loaded questions to help you fine tune your suspension, cockpit, tire pressures, etc over the first couple weeks you have your bike. Remember we’re only a phone call, email or web chat away for any questions you have on your new rig.

