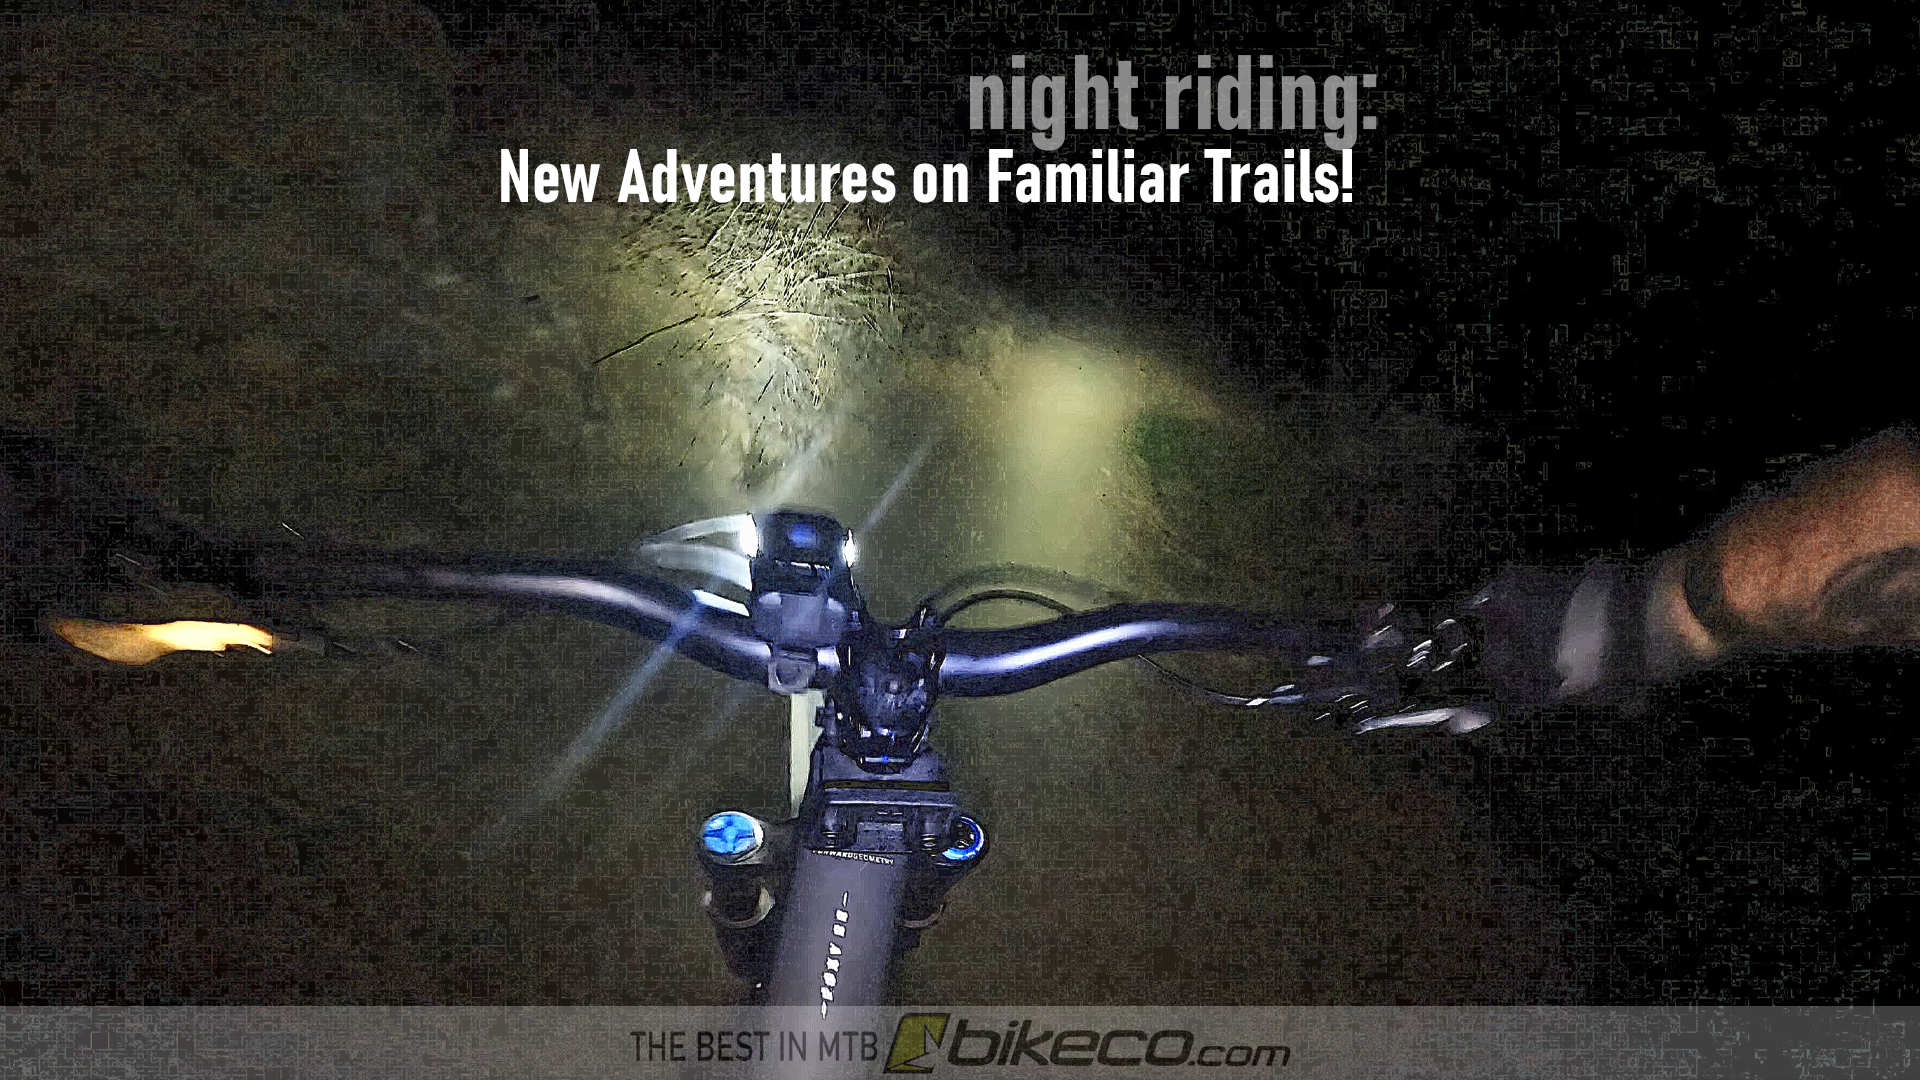
With the upcoming time change and winter closing in the day light hours riders have a couple options for weekday rides. (or, if you’re like me and ah, socially challenged let’s say less busy riding windows!) One is to get up early, although sometimes that light window is short too. The other is to find trails that allow night riding and check out why so many of us credit night riding for improving our riding as well as being a great adventure.
First, let me admit, 10-12 years ago I really did “night” rides pretty frequently. Now, mid forties, my “night rides” tend to be “rides in the evening in the dark”, home and in bed at my normal time! But the adventure and riding is still great…
MTB Night Riding: What do I need?
One of the beauties of MTB night riding is it really doesn’t take much more than you probably have for adventure riding days anyhow.
What’s on my quick list? Well let’s take a quick look.

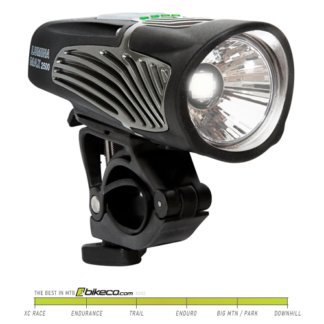
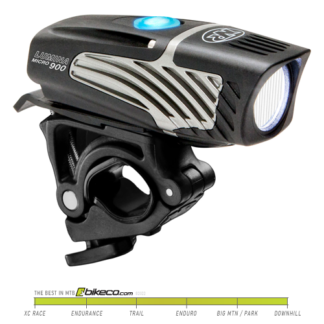
MTB Night Riding Lights
It had been several years since I’d been night riding a lot. Amazingly, or – rather not amazingly I suppose, lights have gotten less expensive, much lighter / smaller and WAY brighter.
I feel like the modern lights in “low” are brighter than my previous lights on “high”. It’s a much more confident feel both up and downhill with the greater lumens at your fingertips.
Two Lights: Helmet & Handlebar
You’re going to have a better experience with a pair of lights. There are a handful of reasons for this.
Top of the list: Riding with two lights at different heights and different angles provides more definition of the trail. With a single light shadows are cast that don’t always easily define what it is you’re looking at. Having a second point of light provides better definition of what’s in front of you – especially downhill.

When descending I prefer a more powerful headlight and slightly less, or maybe equal handlebar light.
The brighter headlamp provides improved vision when you’re looking “down” trail. Your helmet’s light has a better angle for casting definition in most conditions as well.
Setting Up Lights for MTB Night Riding
Getting your lights “right” takes a little bit of trial and error.
Some things to consider include the angle, total light output, trail and speed.
You’ll need to be able to see far enough down trail to ride at a fun pace. Often, especially if you’re climbing first, you’ll find your lights are aimed a little “low”. This is why you see lights mounted further “back” on helmets than you might expect. In order to get the light cast far enough ahead most mounts require being towards the top of the helmet. This also helps with weight balance.
More is more, until it’s too much… You don’t want to “wash out” the trail too much. So you might not run at full power, or you might aim slightly “high” or “low” and maintain the ideal view area with slightly less powerful light.
I remove the visor on my helmets – you don’t have to do this, but, with the light mounted further back the visor can create an extra shadow to deal with. If the visor comes off easy I just pop it off for night rides.
Helmet Headlight
Generally I suggest this to be the more powerful light – but – if you have a really large light you probably don’t want that weight on your head. You can get a lot of lumens in a compact package these days so it isn’t typically an issue either way.
Climbing: When climbing I use the headlight in the low setting to provide enough light at climbing speeds while saving some battery.
Descending: I run the helmet light at or near full power. While you might find this can “wash” your vision if it crosses with a bright handlebar light but there are advantages of having the extra lumens when you’re looking downtrail before the handlebar has crossed into that direction.
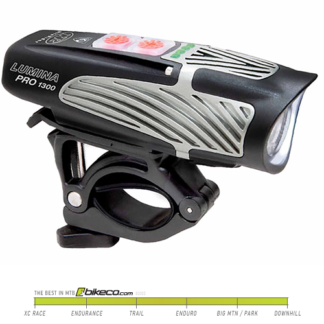
Handlebar Light
My personal setup is currently “same-same” both in the 1200 or 1300 lumen range. Recently I rode with an old friend who showed up with a huge lamp with extra batteries mounted to his bar. Part of me was super jealous of ALL the light. But, given that we’re doing usually just quick loops on a trail we’re familiar with I still prefer the small package lights. Having “same-same”, or at least the same mounting technology also makes it easy if you need to swap them back and forth.
Climbing: I tend to climb without my handlebar light on. I figure this saves some power and gives you a bit more of the “I’m out here” feeling which I like.
Descending: like your helmet light it may take a bit to find a good setup. I’m messing with these new lights trying to balance power, cast and wash out. I don’t have a real “here’s where you should be” feel yet on it. With SO much more light than what I’d been familiar with I’ve been trying different things to see if using a brighter setting, aimed “lower” gives enough light cast while improving the definition. I think my next ride I’ll try mounting the light under the bar to see if I can get a “steeper” angle on it and see what that does to the cast effect.
The long and short of it – familiarize yourself with the lights and their capability. Then find what you feel works best for you!
Other Night Riding Go-Tos

Night riding can take a lot of different forms – and you’ll see many of them out on your local trails.
While there are the guys smashing out the full cardio attack it’s much more of an “event” ride for most riders.
So, how do you stay comfortable on these rides? Well, by staying comfortable…
MTB Night Riding Comfort Tips
Rider Type 1: (my brother) Don’t sweat, cause, sweat will make you cold. I can’t argue with the logic here at all. If you’re this rider it’s also likely you’re in the faster part of the group – which – means you’ll end up waiting more… So you need to have enough gear with you to ensure you’ll stay warm at the check in points.
Rider Type 2: (me) You’re going to sweat. Maybe a lot. Maybe even if it’s cold! I bring an extra jersey so at the top of the climb I can get out of the wet, gross, clingy thing before I descend and force a bunch of cold air through it onto my skin! Really makes a huge psychological difference and reset for me.
Extra Clothes? I’m somewhere in the middle of true minimalist and over packing survivalist. You really have to assess where you’re comfort level is. If it’s real cold I’ll pack an extra layer – and I’m happy to carry it even if I never use it because, knowing I had it in case of a mechanical or whatever brings me some peace.
Extra Tools? See above right? During the day I’ve gotten bad – I carry plenty of water and maybe a multi-tool. If I have to walk out I chalk it up to part of the adventure I suppose. At night I do bring more spares as I don’t like the idea of hiking if I can avoid it in the dark… (I’ve gone solo a couple miles up on the San Juan shuttle back in the day – and the lack of being able to get on the bike and “go” even if it was in the wrong direction wasn’t a great feeling I suppose)
Extra Protection? I seldom wear body armor these days. Most of my loops are on the mellow side and I ride solo a lot so I’m not typically pushing into a “yard-sale” level of get off. But, at night, the body armor definitely comes out.
Body Armor / Knee & Elbow Warmers!
While I’m not pushing night riding hard enough to have frequent crashes the element of surprise does come up more when you can’t clearly see everything. So a pair of compression fit knee and elbow pads puts just enough extra between me and the trail so I feel better.
Also – even if you don’t “crash” at night you have more moments where the bike might be tossing around under you. Knee guards with a bit of protection, especially on the insight of your knee, can take a big bike slap from a gnarly bruise you have to deal with to a simple “thud”.
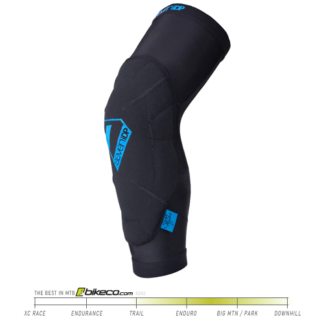
Best of all at night, particularly this time of year, the modern “slim” body armor with compression fit provides a nice warm option. I figure why wear knee or arm “warmers” when I can get that as well as some additional protection with my G-Form Rugged 2 knee or Sam Hill Lite Elbow pads…
-
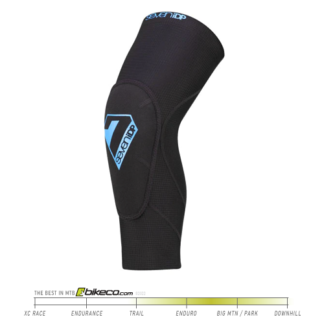
7iDP Sam Hill Knee Pad
$89.99In-Stock: updated 04/24/24. Ships same or next business day!
Select options -
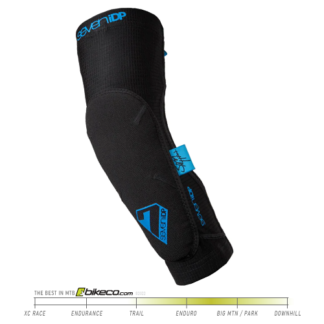
7iDP Sam Hill Lite Elbow Pad
$69.99In-Stock: updated 04/24/24. Ships same or next business day!
Select options -
7iDP Sam Hill Lite Knee Pad
$79.99In-Stock: updated 04/24/24. Ships same or next business day!
Select options -
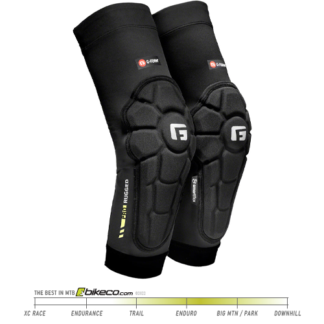
G-Form Pro-Rugged 2 Elbow Pads
$75.00Currently Out of Stock - Inquire for Details
Select options -
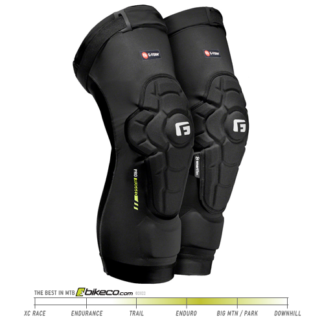
G-Form Pro-Rugged 2 Knee Pads
$99.99In-Stock: updated 04/24/24. Ships same or next business day!
Select options -
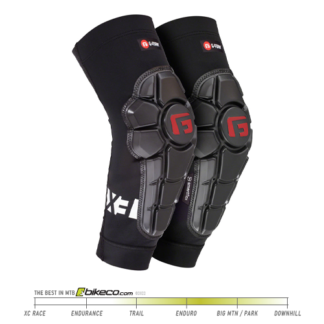
G-Form Pro-X3 Elbow Pads
$59.99In stock
Select options -
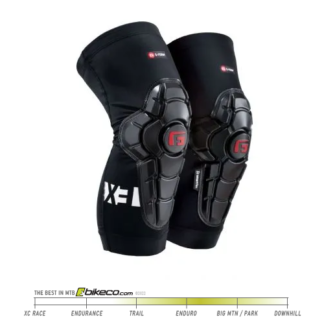
G-Form Pro-X3 Knee Pads
$74.99In-Stock: updated 04/24/24. Ships same or next business day!
Select options
MTB Night Riding: It Makes You Better
There are a lot of reasons I get out to night ride. Adventure (bet most your co-worker’s don’t have a more fun story to tell about that night right?). Social (good to get out with the guys and blow off some steam after work). Cause it’s hard to schedule all the fun in so little daylight (enough said eh).
But night riding also will improve your MTB skills.
You’ll learn to let the bike “float”. At night you can’t see every single thing your bikes’ going to come across. So you learn to let the bike eat up the stuff you maybe didn’t see while you stay focused down trail to deal with the upcoming terrain. These are confident bikes these days – put your confidence in them a bit and your riding will improve.
Don’t fight for the “exact” line. Your lines are gonna change up at night. It will help you better deal with the unexpected. Example? Well, there’s a couple corners on our ride that tend to be dusted with a loose dirt / rock “crust”. During the day it’s not too hard to see and kind of change a tire width one way or the other to stay on the high grip area. At night? Well, you learn to let go of the brake and catch the bike when the traction comes back! Again, kind of goes back to learning to let the bike work and not being OCD in charge of every second of your ride.
When you take this confidence to your day riding you’ll find you’re more competent at higher speeds.

Other Night Riding Tips (that I remember)
It’s been a few years so this list isn’t necessarily comprehensive – but I’m getting it back quick…
Want some tips to help you have more fun on your MTB night ride? Here are a few that I find make a big difference.
Don’t look people in the eye. With your light on at least… sucks to get blinded by your buddy!
Bike Setup:
Your bike is likely to “feel harsh”. You’re riding slower which usually requires less compression and slower rebound. If you’re like me, just remember that on your ride. I’m not going to adjust my bike for a “slower” ride because I have 100% faith that I will forget I did that and hate my next “fast” ride. I can deal with a bike feeling “harsh” better than I can deal with having a slow setup the next time I drop in fast and turn myself into a lawn dart or bury the bike in a big hole I usually blast over…
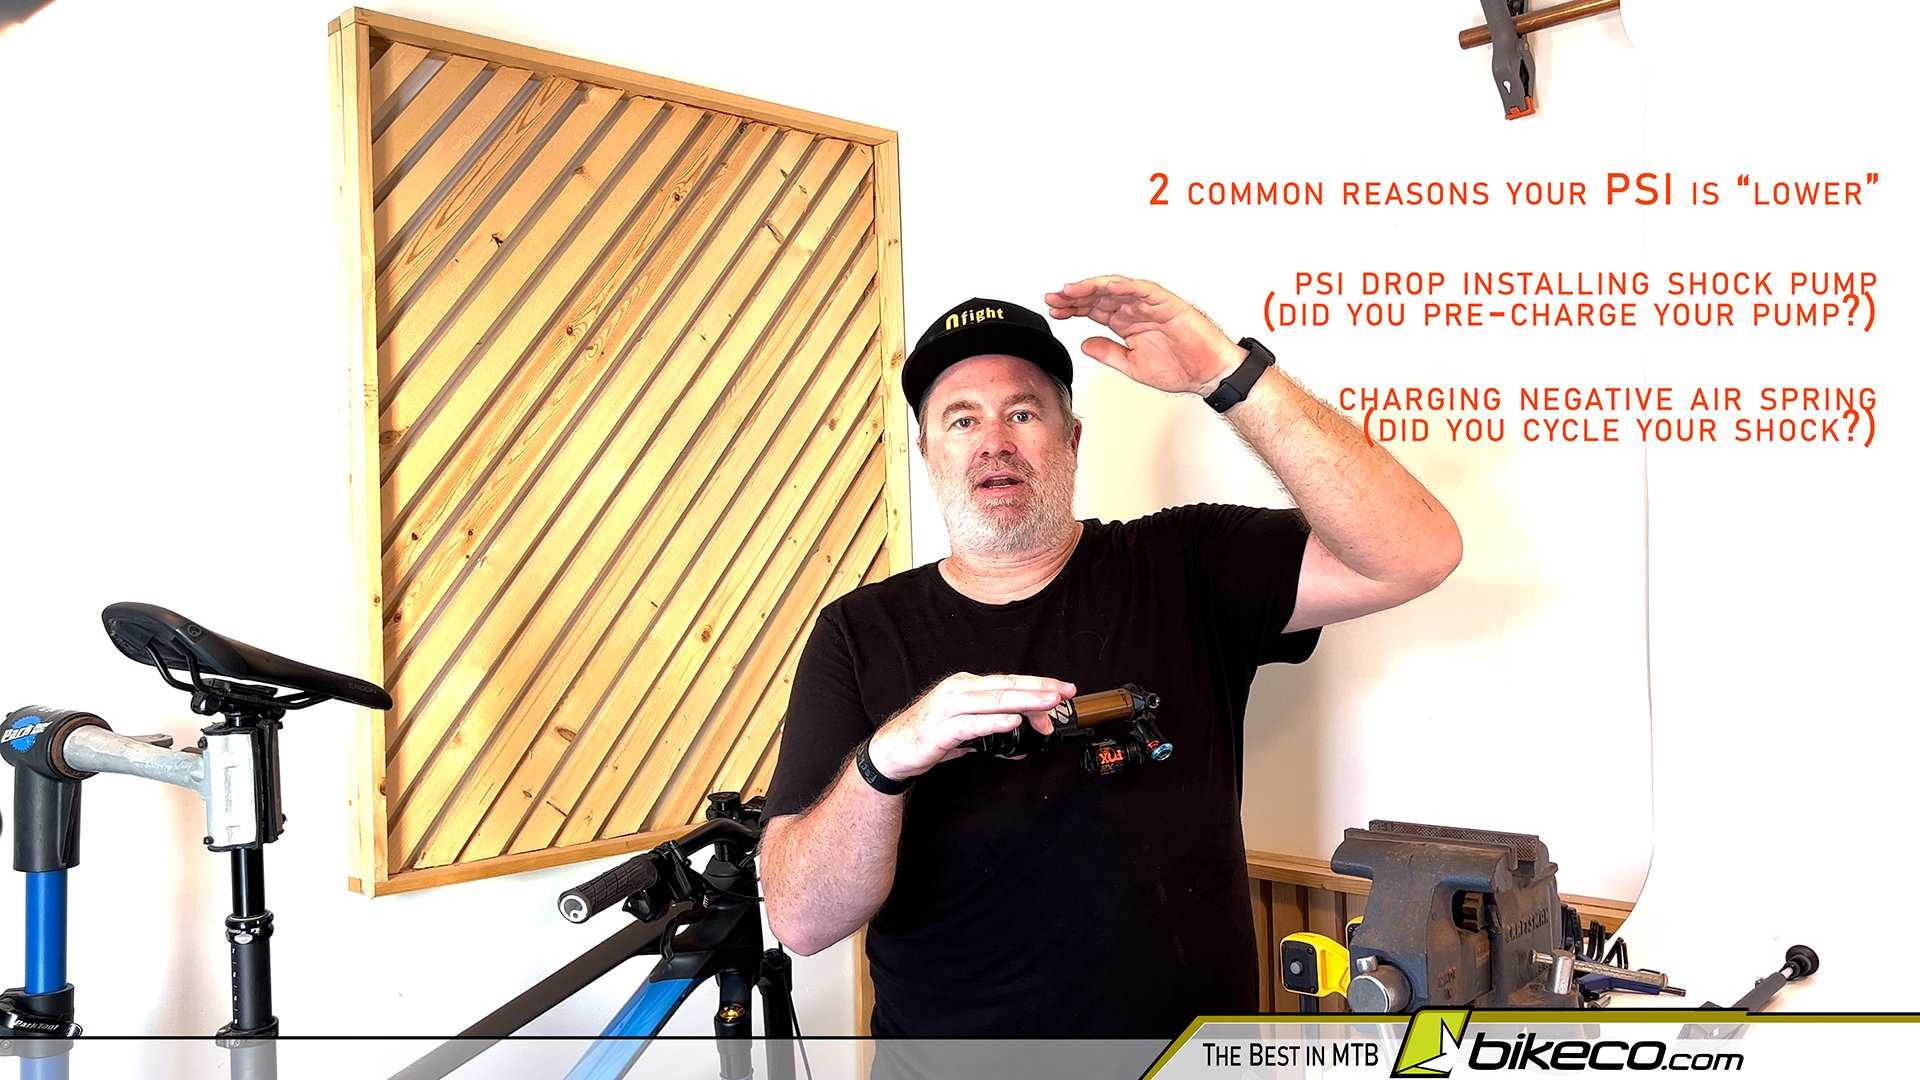
Can you adjust your suspension? Sure. If it’s really, really cold you might consider that too – but – for me personally, it’s going to be very unusual for me to make those adjustments.
Well I could lower my tire PSI right? In fact, good on you for reading so much about where a lot of compliance is on these modern bikes here on BikeCo.com! But, I personally wouldn’t lower the PSI either. You’re likely to have some, ah, adventurous line choices at night. This stresses sidewalls, etc. Running a lower PSI to compensate for the suspension being a bit “fast” increases your likelihood of a pinch flat or cutting a tire on a bottom out. Which, we mentioned above – hiking at night isn’t as fun…
Wear Eye Protection
This is partly a reminder to myself. I’m pretty bad about this recently. At night though, whether it’s psychosomatic because you can “see” the dust in the air with the powerful riding lights or if its’ real – I feel like you get more stuff in your eyes at night. Also – with the occasional off-line adventure you don’t want to be in the bushes or whatever without protection on your eyes.
I’ve had a bit of an eye opening experience here recently – I got this far with only a couple cheap puns! I didn’t have any clear lens around before one of our recent rides. But, in my laptop bag I had a trusty pair of blue light glasses. Well – those became part of my night riding gear that night. And I really liked it. So, I reached out to my eye doctor to ask if it was just a reaction to my “new toy” or if it had some logic.
What I asked:
Quick question if you want to answer for a blog I’m throwing together (if you want we will quote you and link your site – if you’re busy or have no interest or not sure absolutely no hard feelings either)
Would blue light glasses improve night riding?
I wore a pair of computer glasses a couple nights ago and I swear it cut a lot of the glare out of the lights we use – which are super high output LED , about 1500 lumens at full tilt boogie.
Is there any science you might know of that would make this more than in my head?
From Charles at Modern Eyewear Optometry:
“Blue blocker glasses are traditionally used for reducing strain and possible protection while on electronic devices.
I do prescribe them also for migraine and light sensitive patients who wear them all day and do really well with them.
You may have just come up with another excellent use of them! Cycling night lights are bright! And LED! So for sure blue blockers could help cut out some of the high energy wavelengths of the spectrum that interfere with vision while riding. If you felt it helped you see better I would continue to use them. I would add that everyone has different prescription and what may work for you may not work for others.
Do some research on the visible spectrum of light and how different tints cut out reflections and glare.
I personally like light yellow tints for evening dusk riding and clear anti reflective for night rides. But again everyone is different.
I’m a big fan of Rudy Project, which is one brand we offer at the office. That’s what I wear for riding. I believe they also have some info in their sight on optics of tints etc.
Hope that helps! Let me know if you have more questions.
Here’s a good site from trustworthy docs:
https://www.allaboutvision.com
Optics are rad!
One Last Note on LED and Blue Light
I started down this rabbit hole, but I’ve been swamped with a bunch of other things. BUT, I’m wondering if the blue light lens have something special because of how “white” light is actually produced from an LED. (and, I never liked yellow lens outdoors if makes all the bushes, etc feel off to me)
Anyhow – you can check out the Wikipedia LED entry if you wanna take over this rabbit hole on blue light riding glasses for these powerful modern LED lights!
Seeing what you see…
It’s different at night – enjoy the view!